
how to fix car interior door panel rattle noise usually comes down to one thing: something inside the door is vibrating against something else, and it only shows up at certain speeds, bass notes, or road surfaces.
If you’ve ever turned the radio down just to “listen for it,” you’re not alone, door-panel rattles feel small, but they can make a car seem worn out fast, and they’re frustrating because the sound travels and tricks your ears.
The good news is most interior door rattles are fixable with basic tools, a careful test drive, and a little patience, but the trick is diagnosing the source before you start stuffing random foam everywhere.
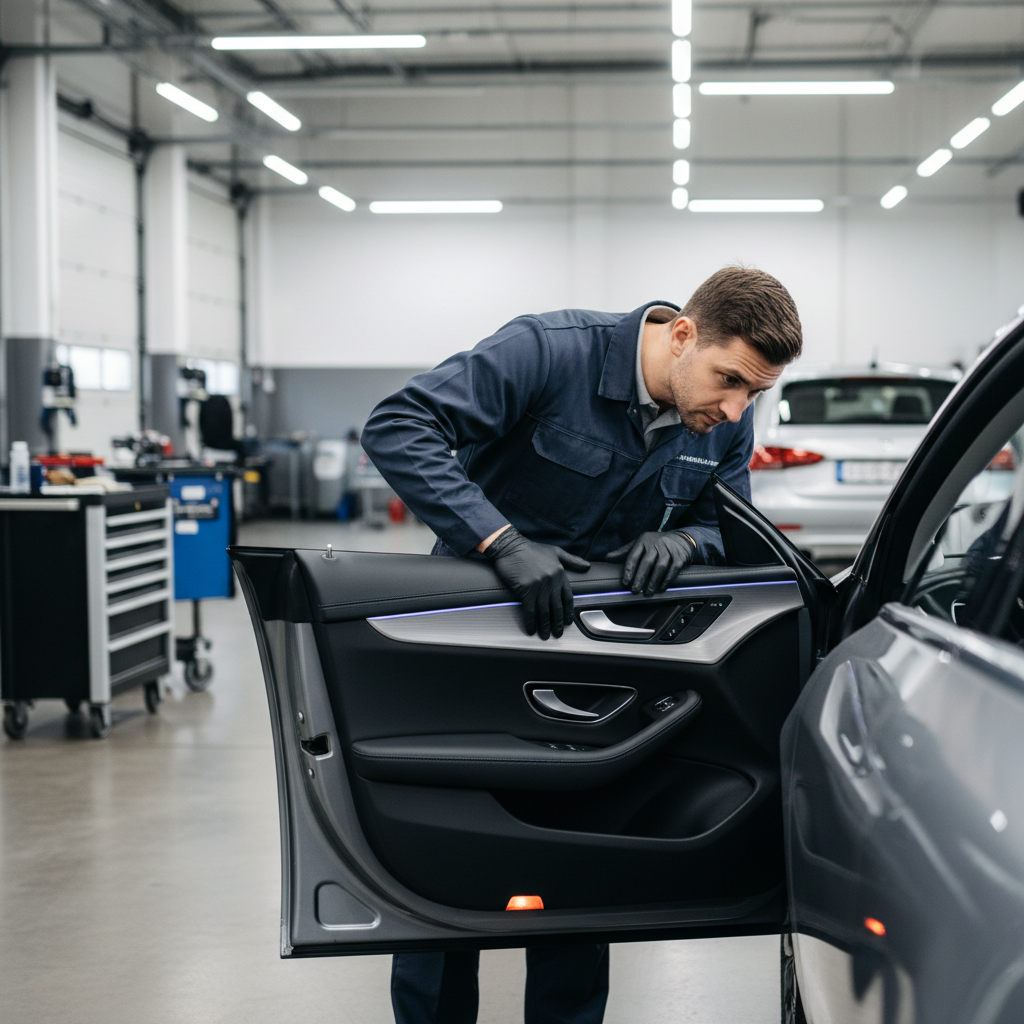
Why interior door panels rattle (what’s actually moving)
A “door panel rattle” is rarely the whole panel, it’s usually one loose part transferring vibration through the trim. In real-world shop terms, you’re hunting for a contact point.
- Loose or broken panel clips, the plastic fasteners lose tension, or the hole in the panel elongates over time.
- Door handle bezel or switch trim slightly unseated, especially after window tint, speaker work, or lock repairs.
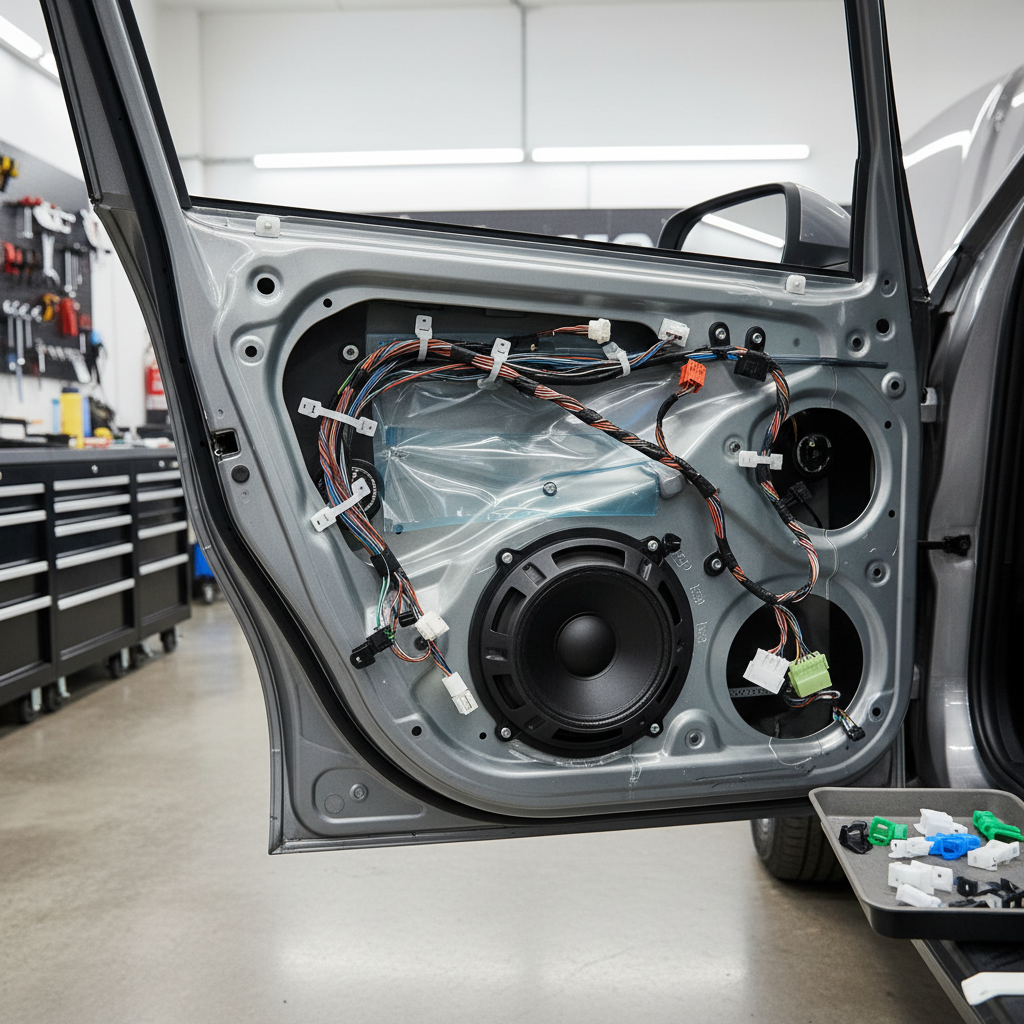
- Wiring harness tapping metal inside the door, common after aftermarket speakers or alarms.
- Speaker mounting issues, missing foam gasket, loose screws, or a warped speaker adapter ring.
- Moisture barrier adhesive failing, the plastic liner flutters and makes a “crinkle/rattle” mix.
- Window regulator or glass hardware slightly loose, this often sounds deeper and happens over bumps.
According to NHTSA, you should address unusual noises that could indicate a part coming loose, especially if it affects vehicle controls like windows or locks.
Quick self-test checklist (pinpoint the rattle in 10 minutes)
Before removing anything, try to “catch” the noise under controlled conditions. This step looks simple and still gets skipped, then people end up chasing the wrong area.
Do these checks during a short drive
- Press test: while the rattle happens, lightly press the door panel, then the armrest, then around the handle area, note what changes the sound.
- Window position: try the window fully up, half down, and barely cracked, a change points toward glass/regulator or the top run channel.
- Audio trigger: if it happens with bass, reduce bass to zero and test again, that often points to speaker hardware or trim resonance.
- Bump trigger: if it happens only on rough roads, suspect clips, harnesses, or regulator bolts more than speakers.
Do these checks parked
- Knock gently on different parts of the panel with your knuckles and listen for a “buzz” versus a solid thud.
- Wiggle the interior handle, window switch panel, and door pull cup, each should feel tight and “damped,” not clicky.
- Open the door and shake it lightly, if you hear something inside the cavity, it’s not trim resonance, it’s a loose component.
Key takeaway: if pressing one spot makes the noise disappear, you’ve probably found the contact area, don’t move on until you mark that zone.
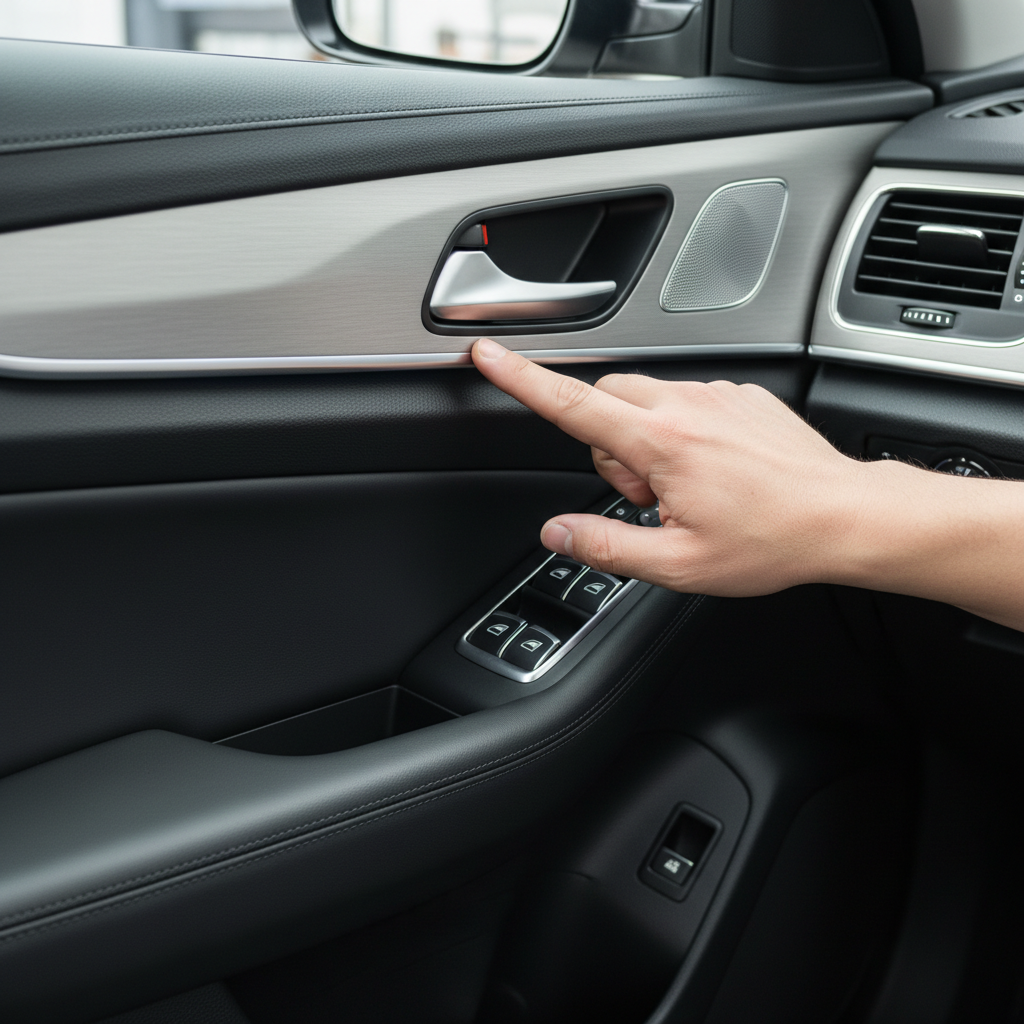
Tools and materials that actually help (and what to avoid)
You don’t need a full shop setup, but the right “anti-rattle” materials matter. Some adhesives melt, some foams soak water, and some tapes squeak later.
- Plastic trim removal tools to avoid marring the panel
- Panel clip assortment (vehicle-specific when possible)
- Felt tape for plastic-on-plastic contact points
- Closed-cell foam tape for light compression and damping
- Butyl rope for resealing moisture barrier edges if needed
- Threadlocker (medium strength) for speaker/regulator bolts when appropriate
Avoid: open-cell foam in the door cavity (can hold moisture), hard rubber that pushes trim out of alignment, and duct tape as a long-term fix (adhesive tends to creep and leave a mess).
Fixes by scenario (start with the most common wins)
Once you know where the noise lives, pick the fix that matches the symptom. This is where “how to fix car interior door panel rattle noise” stops being a generic tip and becomes a targeted repair.
If pressing the panel stops the rattle: clips and contact points
- Remove the door panel carefully, then inspect every clip, any cracked, bent, or missing clip should be replaced.
- Add small squares of felt tape where trim pieces meet, especially around the perimeter and near the armrest bracket.
- Check the panel’s plastic ribs, if a rib touches metal, add a thin strip of closed-cell foam as a buffer.
If bass makes it buzz: speaker and grille area
- Verify speaker screws bite properly, stripped holes need a repair clip, a slightly larger screw, or an adapter ring fix.
- Replace or add a speaker foam gasket so the frame seals against the mounting surface.
- Inspect the grille and nearby trim rings, apply felt tape to any snap tabs that can chatter.
If it changes with window position: glass, regulator, top channel
- With the panel off, check for play in the glass when partially lowered, excess movement can point to regulator wear or loose fasteners.
- Inspect the top run channel for looseness or hardened rubber, a light re-seat can reduce vibration, if it’s torn, replacement is more realistic than tape.
- Make sure wiring isn’t contacting the glass path, secure harnesses to factory points using proper clips or zip ties, leaving slack for movement.
If it sounds like something inside the door cavity: harnesses and “free parts”
- Look for a loose connector, clip, or broken plastic tab sitting in the bottom of the door, remove it.
- Wrap suspicious harness sections with felt tape where they could tap metal.
- Confirm the moisture barrier is firmly stuck around the edges, reattach using butyl rope where it’s lifting.
Door rattle troubleshooting table (symptom → likely cause → fix)
Use this as a shortcut when you’re not sure what to open up first.
| What you hear | When it happens | Most likely cause | Fix that usually works |
|---|---|---|---|
| Light buzzing near handle | Rough road, door closed | Loose bezel/trim tabs | Reseat trim, add felt tape on tabs |
| Plastic “chatter” at panel edge | Any bumps | Worn/broken clips | Replace clips, add foam at contact ribs |
| Rattle with bass notes | Music, higher volume | Speaker screws/gasket/grille | Tighten, add gasket, felt tape around grille |
| Deeper knock or clunk | Big bumps, window mid-way | Regulator or glass hardware | Inspect bolts, tighten to spec, service regulator if worn |
| Crinkly fluttering | Speed + vibration | Moisture barrier loose | Re-seal with butyl rope |
Common mistakes that waste time (or make the noise worse)
Door trim is forgiving, but a few habits almost guarantee the rattle returns, sometimes louder.
- Overstuffing foam so the panel bows, the clips won’t seat evenly and new squeaks show up.
- Reusing tired clips because they “look fine,” if they pull out easily, they won’t hold tension under vibration.
- Ignoring the moisture barrier after peeling it back, air leaks and flapping plastic can mimic a panel buzz.
- Letting wires hang after speaker installs, a harness tapping metal sounds exactly like trim rattle from the driver seat.
- Cranking screws down into plastic, you can strip mounts and create a permanent looseness problem.
Also, don’t forget a simple reset: empty the door pocket and cup holder area, coins and hard plastic accessories create “mystery rattles” more often than people want to admit.
When to stop DIY and get professional help
If you’re hearing a rattle plus a functional issue, it’s smart to be cautious. A noise by itself is annoying, a noise with a symptom can become a repair bill if you keep forcing parts.
- Power window moves slowly, binds, or tilts, regulator issues can worsen if run repeatedly.
- Door won’t latch smoothly, or it needs slamming, latch/striker alignment matters for safety.
- You suspect side airbag wiring or sensors in the door, many vehicles place components in the door panel area.
According to SAE International, following correct service procedures helps reduce the risk of damage when working around modern vehicle electronics and safety systems, if you’re unsure, a qualified technician is a safer option.
Practical wrap-up (what to do next)
If your goal is a real fix, treat it like a small diagnosis job, locate the rattle, match the symptom to the likely cause, and use felt or closed-cell foam in the right places instead of guessing. Most people solve it once they replace weak clips and stop plastic-on-metal contact.
Pick one short drive route that reliably triggers the noise, test after each change, and you’ll usually land the fix faster than doing five “maybe” tweaks at once.
FAQ
How do I know if the rattle is the door panel or something inside the door?
If pressing on the panel changes the sound immediately, it’s often trim contact or a clip. If it still rattles with firm pressure, look inside the door cavity for a loose harness, speaker, or regulator hardware.
Can I fix a door panel rattle without removing the panel?
Sometimes. If the noise is from a loose switch bezel or a grille edge, reseating the trim and adding felt at accessible seams can help. For most clip or harness issues, removing the panel saves time in the long run.
What tape is best for stopping plastic trim rattles?
Felt tape is a common choice for plastic-on-plastic areas because it reduces friction noise. Closed-cell foam tape works better when you need light compression, like a buffer between the panel and metal.
Why did the rattle start after I replaced speakers?
Aftermarket installs often change how the speaker seals, how wires are routed, and how tight the mounting points feel. Loose screws, missing gaskets, or a wire tapping the door skin are typical culprits.
Is it safe to add sound deadening inside the door?
It can be, but placement matters. Avoid blocking drain holes and avoid materials that trap water. If you’re not sure where water flows in your door, a shop can advise based on your vehicle’s design.
My rattle only happens at highway speed, not on bumps, what should I check?
That often points to something fluttering, like a loose moisture barrier edge, or an aerodynamic vibration transferring into the trim. Focus on the plastic liner adhesion and any loose trim around the mirror sail panel area.
How much does it usually cost to fix a door rattle at a shop?
It varies by vehicle and how long diagnosis takes. Many shops charge a diagnostic labor amount, then parts like clips and tape are relatively minor, but regulator or latch issues can be more involved.
If you want a simpler path
If you’re chasing the noise but don’t want to remove the panel twice, it can help to use a vehicle-specific clip kit, proper felt/foam materials, and a step-by-step trim removal guide for your model, it’s often the difference between a quiet door and a rattle that comes back next week.