
Best car rear view mirror anti glare film is one of those small upgrades you only notice when you don’t have it—usually the first time a lifted truck sits behind you with bright LEDs at night.
Glare is more than “annoying.” It can wash out what you see in the mirror, tempt you to tilt the mirror into an awkward angle, and leave your eyes feeling tired on longer drives. A good film won’t make you feel like you’re driving in a cave, but it can take the edge off harsh headlights.
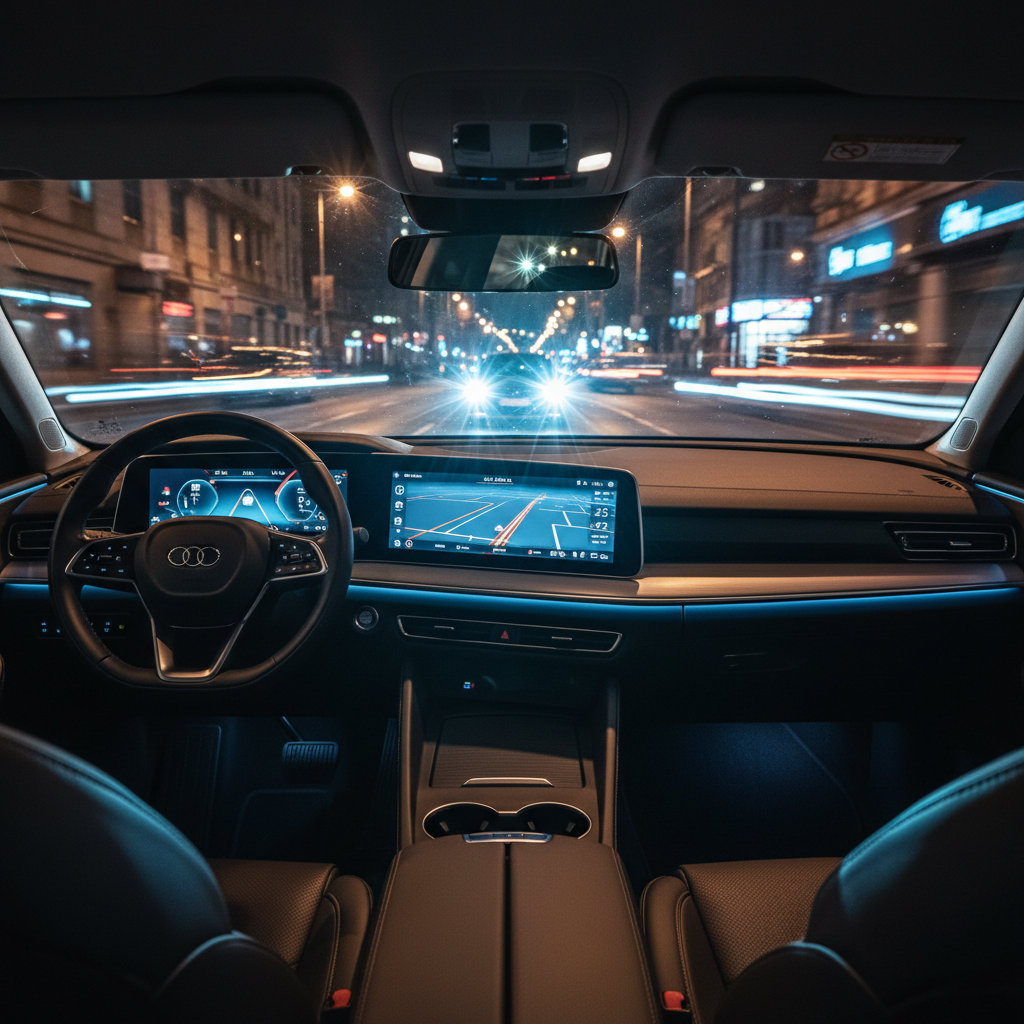
That said, not every “anti-glare” product is the same. Some are true optical films with decent clarity, others are basically tinted plastic that makes everything darker without solving the real problem. This guide helps you pick the right type for your mirror, install it without bubbles, and set expectations so you’re not disappointed.
What anti-glare mirror film actually does (and what it can’t)
Most rear-view anti-glare films work by reducing intense light reflections and smoothing the contrast spikes that make headlights feel blinding. Depending on the product, that’s done with light tinting, polarization, anti-reflective coating, or a combination.
What it usually can’t do is “delete” glare entirely. If someone is running mis-aimed headlights, high beams, or ultra-bright aftermarket LEDs, you’ll still notice the light—just often less painfully.
According to the National Highway Traffic Safety Administration (NHTSA), visibility and driver attention are key safety factors, and anything that reduces visual distraction may help—though product choice and correct installation matter.
Why rear view mirror glare feels so brutal at night
If glare seems worse than it used to be, you’re not imagining it. A few real-world reasons show up again and again.
- Higher headlight intensity and color temperature: Many newer vehicles use LED projectors that can look harsh, especially in rain.
- Lifted trucks and SUVs: Their beam height lines up with your mirror more often.
- Dirty glass: A hazy mirror surface scatters light and makes halos.
- Mirror angle and seating position: Small changes can put the hotspot right in your eyes.
- Astigmatism or dry eyes: Some drivers see more starbursting; a film might help a bit, but it’s not a medical fix.
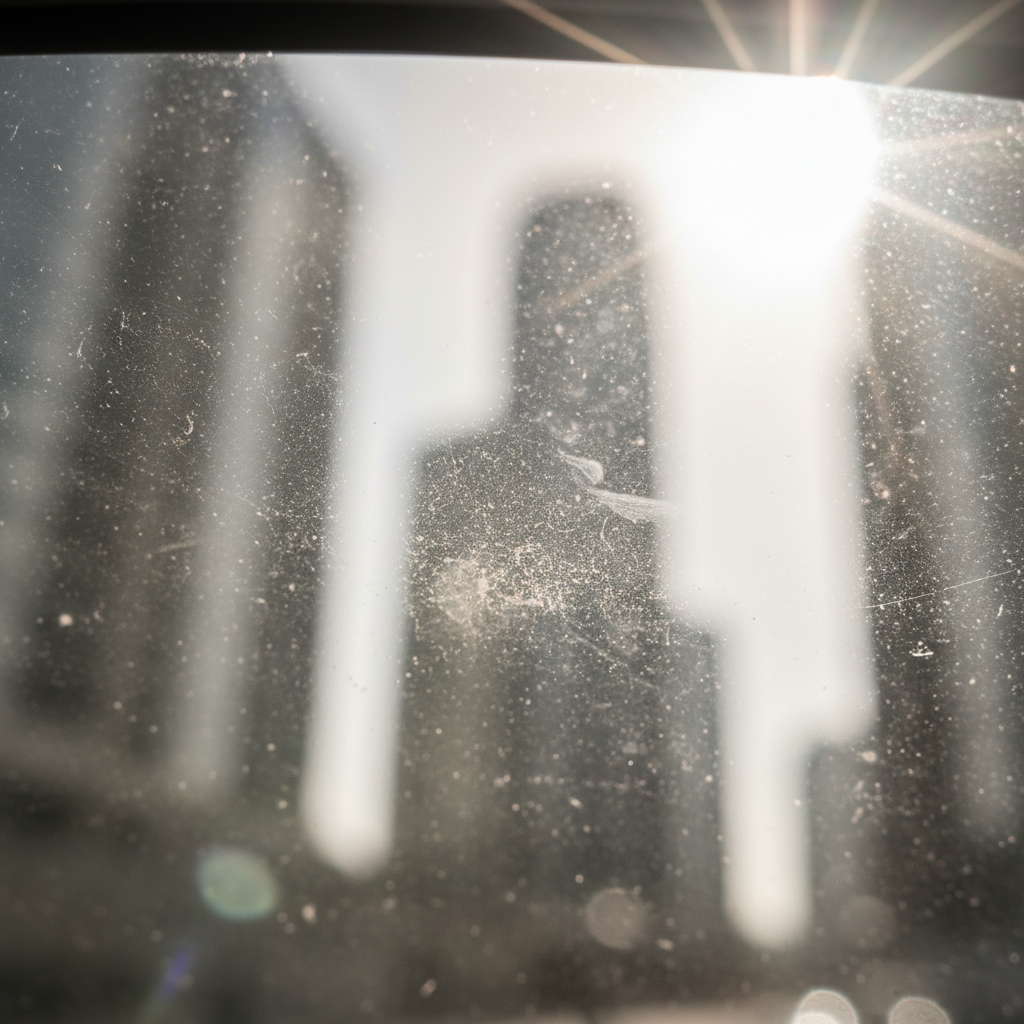
A quick but overlooked step: if your mirror is even slightly greasy, anti-glare film will look worse and perform worse. Cleanliness is not optional here.
Quick self-check: do you need film, or a different fix?
Before buying anything, run through this short checklist. It keeps you from treating the symptom while ignoring the cause.
- If your mirror has a manual day/night flip tab and you never use it, start there.
- If you already use the tab and glare still feels sharp, film may help.
- If glare looks like big starbursts in both mirrors and streetlights, consider an eye exam (astigmatism is common).
- If your mirror is scratched or delaminating, film won’t hide distortion—replacing the mirror may be the better spend.
- If the issue is mainly side mirrors, prioritize side mirror anti-glare solutions too, not just the rear view.
For drivers who share a car, film can also be a “set-and-forget” option compared with constantly flipping the mirror tab.
How to choose the best car rear view mirror anti glare film
Shopping gets confusing because listings mix together screen protectors, blue tints, polarizers, and generic PET sheets. Here’s what tends to matter in real use.
Key features worth paying attention to
- High clarity: Look for products that emphasize optical clarity, not just “dark tint.” If you can’t read distant details in the mirror, it’s a problem.
- Anti-reflective or anti-dazzle coating: This often works better than heavy tinting.
- Hydrophobic top layer: Not essential for an interior mirror, but it can reduce smearing during cleaning.
- Proper sizing: A film slightly larger than your mirror is easier to trim than one that comes up short.
- Adhesive type: Most use static-cling or light adhesive. Static-cling is usually easier to reposition, but can lift at edges if cut poorly.
A practical comparison table
| Film type | What it’s good at | Trade-offs | Who it fits |
|---|---|---|---|
| Light tint anti-glare | Reduces intensity a bit | Can make mirror too dim on dark roads | City/suburban night driving |
| Polarized-style film | Can cut harsh reflections more noticeably | Angle-dependent, may shift colors slightly | Drivers sensitive to glare |
| Anti-reflective coated clear film | Maintains brightness while softening hotspots | Often costs more, quality varies | Highway commuters |
| Cheap “blue anti-glare” sheet | Looks like it helps in photos | Can add haze, distort at night | Usually not recommended |
If you’re trying to pick the best car rear view mirror anti glare film for daily use, prioritize clarity first, then glare control. A film that “kills glare” but makes the mirror muddy is a bad trade.
Installation that doesn’t look messy (bubble-free method)
Most negative reviews are installation problems. The film is fine, but dust, misalignment, or trapped moisture ruins it.
What you need
- Microfiber cloth (clean, not the one living in your cupholder)
- Glass cleaner that leaves minimal residue, or diluted isopropyl alcohol
- Painter’s tape (optional, for alignment)
- A small squeegee or a stiff card wrapped in microfiber
- A sharp blade or scissors if trimming
Step-by-step
- Clean twice: First pass removes grime, second pass removes cleaner residue and streaks.
- Dry and inspect: Look at the mirror from an angle; any lint will become a bubble.
- Test fit: Line it up before peeling anything. If trimming, trim gradually.
- Apply slowly: Start from one edge and push air outward as you go.
- Squeegee lightly: Too much pressure can crease thinner films.
- Let it settle: Minor haze can be moisture; many films clear up after some time indoors.
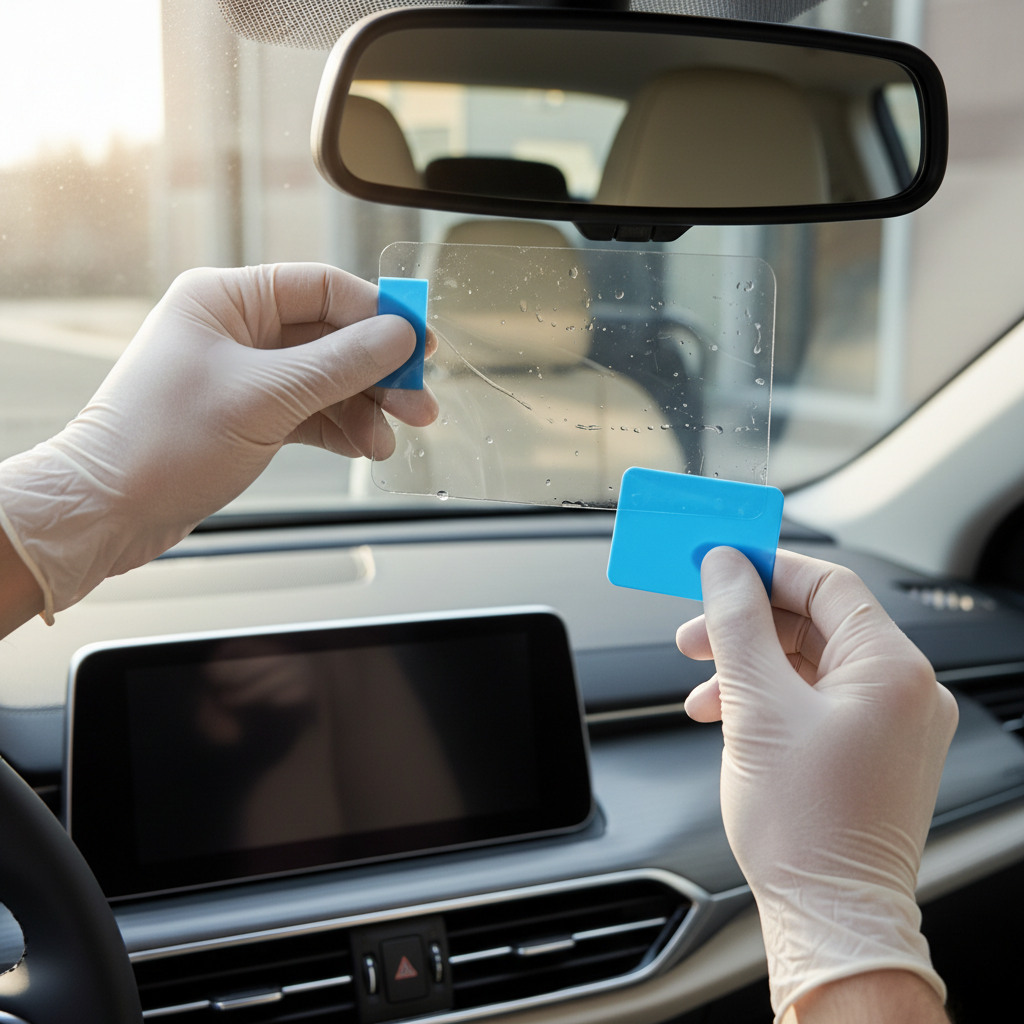
Key point: If you see a “perfect circle” bubble, it’s usually dust. If you see a soft cloudy patch, it’s often moisture or cleaner residue.
Common mistakes that make glare worse
This is the part people don’t love hearing: you can spend money and end up with more glare if you pick the wrong film or rush the basics.
- Going too dark: A dark tint can reduce headlight glare but also hides cars in unlit areas.
- Stacking films: Doubling layers tends to add distortion and edge lifting.
- Cleaning with harsh chemicals: Some coatings scratch or haze if you use ammonia-heavy products.
- Ignoring mirror mode: If your mirror has the day/night tab, use it with the film; they can complement each other.
- Expecting camera-like clarity: A mirror is still a mirror; film won’t “upgrade” resolution.
Conclusion: a realistic way to cut night glare
The right anti-glare film can make night driving feel calmer, especially on highways where bright headlights sit in your mirror for miles. The win comes from a balanced approach: pick a clear film with credible glare control, install it on a truly clean surface, and keep your mirror’s day/night function in the mix.
If you want a simple next step, do this tonight: clean the mirror properly, test your current day/night setting, then choose a film that prioritizes clarity. That combination is usually where the best results show up.