
how to replace car turn signal bulb front rear is usually a straightforward DIY job once you know where the bulb housing is and how your vehicle’s socket locks in.
If your turn signal blinks fast, doesn’t light at all, or the dash indicator acts weird, the cause is often a burned-out bulb or a bad connection, and replacing the bulb can restore safe, predictable signaling without a shop visit.
That said, modern cars vary a lot, some use traditional halogen bulbs, others use LED modules that don’t “just swap,” and a few models make access annoyingly tight. This guide helps you figure out what you have, choose the right replacement, and avoid the common mistakes that create new problems.
Before you start: safety, bulb type, and what “fast blink” really means
Turn signals are a safety item, so treat this as more than a cosmetic fix. Work on a flat surface, set the parking brake, and let hot headlight housings cool before touching anything. If you’re working near the battery or tight wiring, removing the key and keeping metal tools away from terminals helps reduce accidental shorts.
Fast blinking is a clue, not a diagnosis by itself. Many vehicles “hyperflash” when they detect lower electrical load, most commonly from a burned-out bulb, but it can also happen with the wrong bulb type, an LED conversion without a proper resistor, corrosion at the socket, or a failing flasher circuit depending on the design.
According to NHTSA, signaling intentions is a core part of safe driving behavior, so if you’re getting intermittent operation, don’t wait weeks and hope it resolves on its own, track it down while the symptoms are obvious.
Quick diagnosis checklist: bulb, socket, fuse, or LED module?
Use this quick list to avoid pulling apart the wrong end of the car.
- One corner out (front or rear only): usually a single bulb or socket issue.
- Both left or both right out: could be a fuse, body control module behavior, or shared ground problem, vehicle-dependent.
- Fast blink on the dash: commonly a bulb out, but also triggered by LED swaps without load matching.
- Bulb works sometimes: often corrosion, a loose socket, or heat-damaged connector.
- New bulb doesn’t work: wrong bulb number, inserted incorrectly, bent contacts, or a blown fuse.
- Sealed LED assembly: some cars don’t have a serviceable bulb, replacement means an LED lamp unit.
If you’re unsure what bulb you need, check your owner’s manual, the bulb chart sticker in the engine bay on some models, or a reputable parts catalog by year/make/model. Buying “close enough” bulbs is where people waste time.
Tools and parts you’ll typically need (and what you can skip)
Most turn signal bulb swaps are tool-light. Still, having the right basics keeps plastic clips and housings from getting damaged.
- Replacement bulb (correct size and type, for example 3157, 7440, 7443, 1156, 1157, varies by vehicle)
- Gloves or a clean paper towel (especially for halogen bulbs)
- Flat trim tool or small flat screwdriver (for lens clips and interior panels)
- Phillips screwdriver or Torx bit set (common on rear lamp access panels)
- Dielectric grease (optional, helpful if you see mild corrosion)
- Contact cleaner (optional, if the socket looks green or dirty)
You can usually skip jacks and stands. If access is through a wheel-well liner, turning the steering wheel outward often gives enough room without lifting the car, but if you do lift it, use proper jack stands.
How to replace the front turn signal bulb (common access paths)
For the front, access usually comes from one of three places, behind the headlight housing, through a wheel-well access flap, or from underneath with a splash shield. The exact route depends on your car’s packaging.
Method A: access behind the headlight (most common)
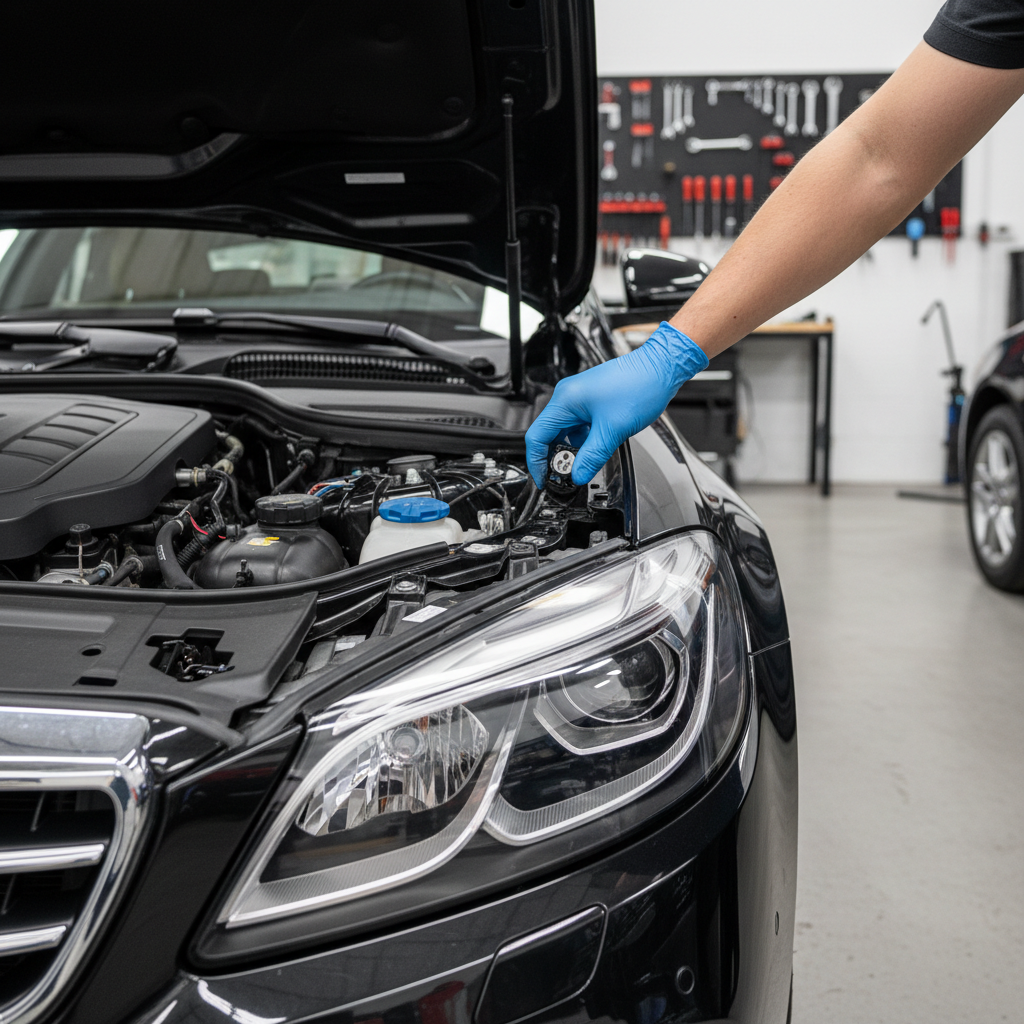
- Open the hood, locate the back of the headlight assembly on the affected side.
- Find the turn signal socket, it’s often a smaller twist-lock socket separate from the headlight bulb.
- Turn the socket counterclockwise about a quarter turn and pull it straight out.
- Remove the old bulb, some pull straight out, others twist slightly.
- Install the new bulb firmly, then reinstall the socket and twist to lock.
Method B: access via wheel-well liner
- Turn the steering wheel away from the side you’re working on.
- Remove a few clips/screws on the liner access panel.
- Reach in, locate the turn signal socket, then twist and remove it.
- Swap the bulb, reinstall, and refit the liner clips carefully.
Tip that saves headaches: don’t force twist-lock sockets. If it won’t turn, you may be grabbing the wrong socket, or the locking tabs are misaligned. Re-seat and try again with steady pressure.
How to replace the rear turn signal bulb (trunk access vs lens removal)
The rear is often easier because you can reach it from inside the trunk or cargo area. Some vehicles, especially certain sedans and older models, require removing the lamp lens from the outside.
Method A: trunk/cargo access (common on sedans, hatchbacks, SUVs)
- Open the trunk or rear hatch and locate the access door or carpet panel behind the tail light.
- Remove the access cover, sometimes it’s clips, sometimes a wing nut.
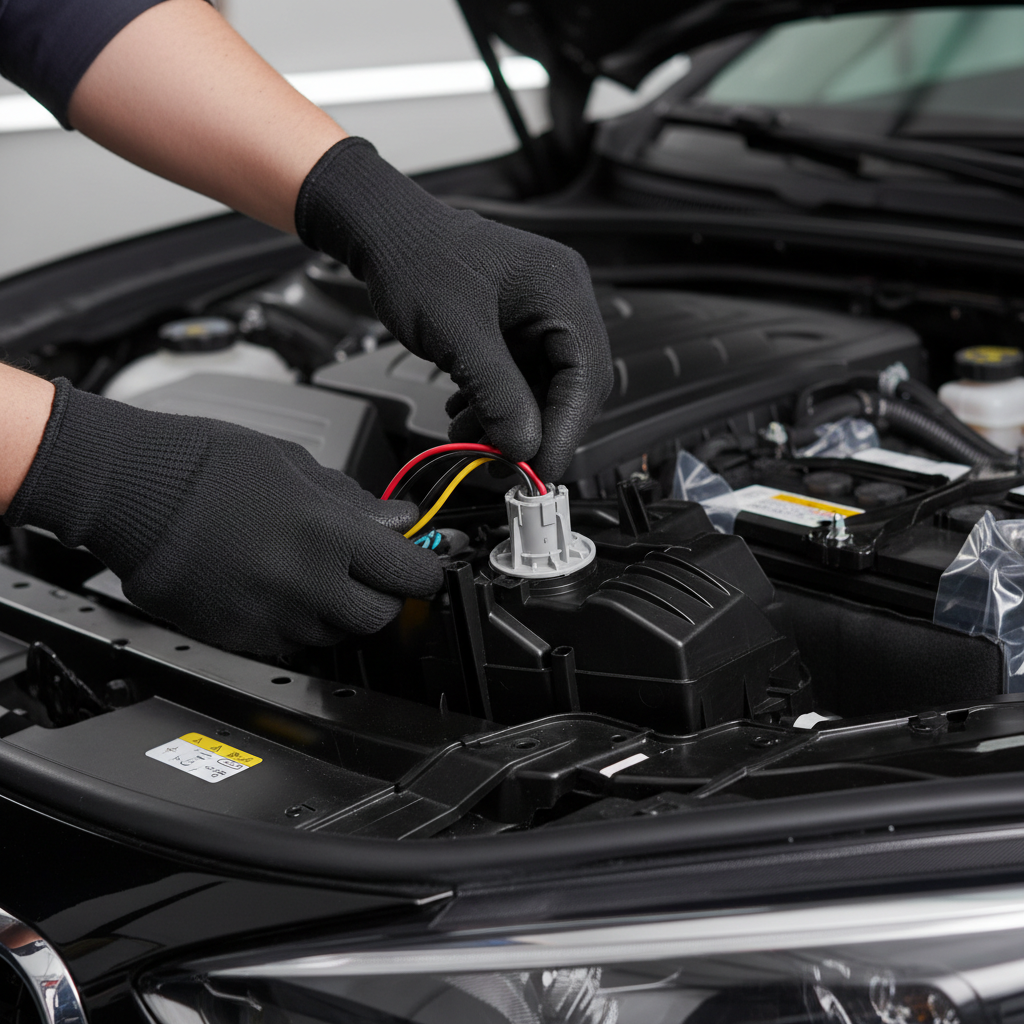
- Identify the turn signal socket, then twist and pull it out.
- Replace the bulb, reinstall the socket, then test before reassembling trim.
Method B: remove the tail light housing (common on many modern cars)
- Remove the interior trim cover to expose the tail light fasteners.
- Undo nuts/bolts, then pull the tail light straight back, not sideways, to avoid breaking alignment pins.
- Swap the turn signal bulb in the housing, then re-seat the lamp and tighten evenly.
If water or condensation appears inside the tail light, replacing the bulb alone may not fix it, you may also need to inspect the housing gasket and venting. Moisture is a repeat offender for sockets and contacts.
Bulb selection and compatibility: halogen vs LED, amber vs clear
The “right bulb” is not just the base size. It also includes brightness, color, and whether the circuit expects a certain load.
| Situation | What to buy | What to watch for |
|---|---|---|
| Factory halogen turn signal | Same bulb number and color (amber where required) | Don’t touch glass on some halogen styles, oils can shorten life |
| Upgrading to LED bulbs | Vehicle-compatible LED + load solution (resistors or LED-rated flasher if supported) | Hyperflash is common without load matching, and resistors create heat |
| Sealed LED lamp module | OEM-style lamp assembly or equivalent replacement unit | Not a bulb swap, may require calibration or careful fitment |
Also check lens color. If your lens is clear, you typically need an amber turn signal bulb to stay road-legal and visible. If you’re uncertain, match what came out or verify in the manual.
Common mistakes that make the new bulb fail (or “still not work”)
This is where many DIY attempts stall. The bulb is new, but the signal still fails, and it feels like the car is trolling you.
- Wrong bulb number: same base shape doesn’t always mean same pin layout, wattage, or function.
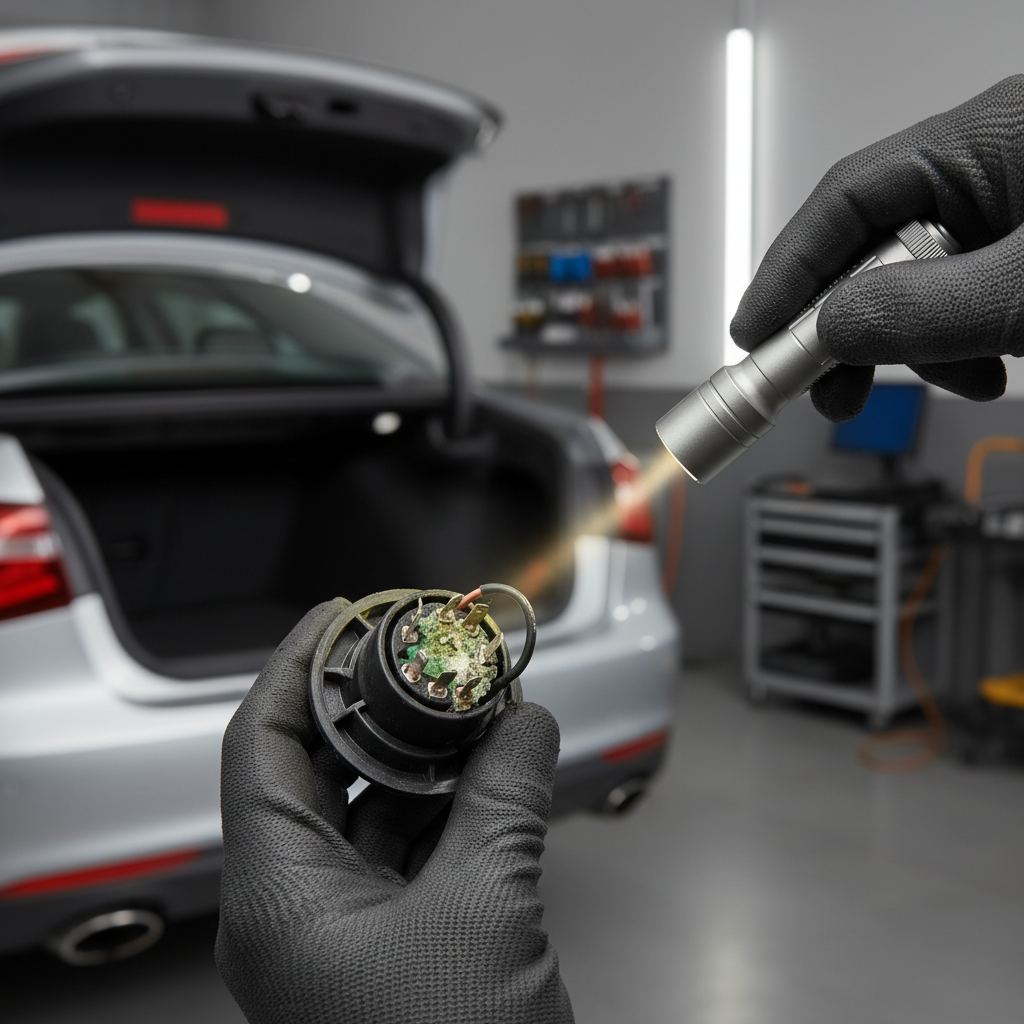
- Socket corrosion: green/white buildup can block current. Clean gently, don’t scrape aggressively.
- Loose ground: rear lighting often shares ground points, a bad ground can cause strange behavior.
- Not fully seated: twist-lock sockets that aren’t locked can arc and overheat.
- LED polarity: some LED bulbs only work one way, flip 180 degrees if applicable.
- Blown fuse after a short: if you accidentally shorted contacts during removal, check the fuse box.
If you’re doing how to replace car turn signal bulb front rear as part of an LED conversion, keep an eye on heat. Load resistors can run hot enough to damage nearby plastic if mounted carelessly, and in many cases it’s smarter to stay with factory-type bulbs unless you’re ready to do the conversion properly.
Practical testing and final checks (don’t skip this part)
Test before you button everything up. It sounds obvious, but it saves a second round of clip removal.
- Turn ignition to accessory or on position as required by your vehicle.
- Activate left and right signals, confirm correct corner illumination front and rear.
- Check hazards too, because some cars route hazard/turn functions differently.
- Walk around the car, verify brightness matches the opposite side.
Key takeaway: if the signal still hyperflashes after replacing a burned-out bulb with the correct type, treat it as an electrical load or connection issue, not a “bad new bulb” assumption.
When it’s smarter to get professional help
If you can’t access the bulb without removing the bumper, if you see melted connectors, or if multiple lights act up together, a professional diagnosis may save money versus guessing parts. Electrical issues can be simple, but they can also point to a wiring harness rub-through, water intrusion, or a control module problem depending on the platform.
Also, if you’re unsure about local requirements for bulb color, brightness, or LED conversions, asking a qualified mechanic or checking your state regulations is a safer move than relying on forum consensus.
Conclusion: a small repair that pays off every drive
Once you understand access and bulb compatibility, how to replace car turn signal bulb front rear becomes a quick maintenance task instead of a nagging warning you ignore. Replace the bulb, confirm the socket is clean and locked, then test signals and hazards before reinstalling trim.
If you want the smoothest next step, pull the old bulb first, match the part number, and buy two so both sides stay consistent in brightness and color, it’s a small extra cost and usually less hassle long-term.
FAQ
Why is my turn signal blinking fast after I replaced the bulb?
Fast blinking usually means the system still “sees” low load or an open circuit. Double-check bulb type, seating, and socket contacts, and if you installed LED bulbs, you may need a load-matching solution depending on the vehicle.
Do I need to disconnect the battery to change a turn signal bulb?
Most of the time, no, as long as the vehicle is off and you’re careful. If you’re working in a very tight area near exposed power connections or you’re uncomfortable around wiring, disconnecting the negative terminal is a reasonable precaution.
Can I touch the bulb glass with my fingers?
For many halogen bulbs, oils from skin can shorten bulb life, so using gloves or a clean towel is a safer habit. Some turn signal bulbs are not halogen and are less sensitive, but it’s still a clean practice.
My front bulb is out but the rear works, what should I check?
That points to a single bulb or socket issue at that corner. Verify the correct bulb, inspect the socket for corrosion, and make sure the connector is fully seated.
My rear turn signal bulb won’t come out of the socket, what now?
Some bulbs pull straight out, others need a slight twist. If it feels stuck, don’t yank hard, wiggle gently while pulling, and inspect for melted plastic or broken glass, in that case replacing the socket may be necessary.
Is it legal to use white LEDs for turn signals behind a clear lens?
In many cases, turn signals are expected to appear amber to other drivers. Laws and enforcement can vary by state, so it’s safer to use amber bulbs for clear lenses unless you’ve confirmed your setup meets requirements.
How do I know if my car has a replaceable bulb or a sealed LED unit?
If you can find a twist-lock socket with wiring going into the lamp housing, it’s usually serviceable. If the owner’s manual lists an “LED lamp assembly” for turn signals or there’s no access socket, it may be a sealed unit.
Need a more convenient path?
If you’re trying to replace a signal bulb but access is blocked, parts fitment is confusing, or you’re seeing hyperflash after the swap, a local parts store lookup by VIN or a quick inspection by a trusted mechanic can be the faster, less frustrating option than repeated trial-and-error.