how to clean inside of windshield comes down to one thing most people miss: you’re not just removing “dust,” you’re breaking down an oily film that keeps smearing and catching light at night.
If your headlights glare worse after you wipe, or the glass looks fine in daylight but turns hazy at sunset, that’s usually interior buildup, not “bad glass.” The fix is simple, but the sequence matters more than the product label.
Below is a practical method that works for most daily drivers, plus a quick checklist to figure out what kind of mess you’re dealing with, because nicotine film, plastic outgassing, and household cleaner residue do not behave the same.
Why the inside of your windshield gets cloudy (even if you rarely touch it)
Interior windshield haze usually comes from a few repeat offenders, and it helps to name them before you start scrubbing.
- Plastic outgassing: Many dashboards and interior plastics release vapors, especially in heat, those vapors settle on cool glass and form a thin, oily layer.
- Skin oils and “quick wipes”: A paper towel and a random spray often spread oils around, leaving streaks that look worse at night.
- Vaping/smoking residue: This tends to create a sticky film that smears unless you degrease properly.
- Cabin moisture + dust: Fogging and then wiping with your hand leaves minerals and grime behind.
- Wrong cleaners: Products with conditioners, fragrances, or ammonia can leave residue or cause interior trim issues.
According to CDC, secondhand smoke can deposit particles onto indoor surfaces, and in a car that can translate into a persistent film that needs more than a dry wipe.
Quick self-check: what kind of windshield film do you have?
Before you follow any “how to clean inside of windshield” routine, do this 60-second check so you don’t fight the wrong problem.
- Night glare test: If oncoming headlights bloom into starbursts, that’s often oily haze or streaking residue.
- Finger swipe test: On a cool windshield, lightly swipe a clean finger in a corner. If it drags or leaves a clear track, you’re dealing with oily film.
- Smear pattern: If it smears in wide arcs, it’s usually oil. If it looks like tiny dots, it can be cleaner overspray or dust/mineral spotting.
- Smell and stickiness: A sweet or stale smell plus tacky feel often points to smoke/vape residue.
Key point: If the glass looks “clean” until sunlight hits at a low angle, you’re seeing residue, not dirt.
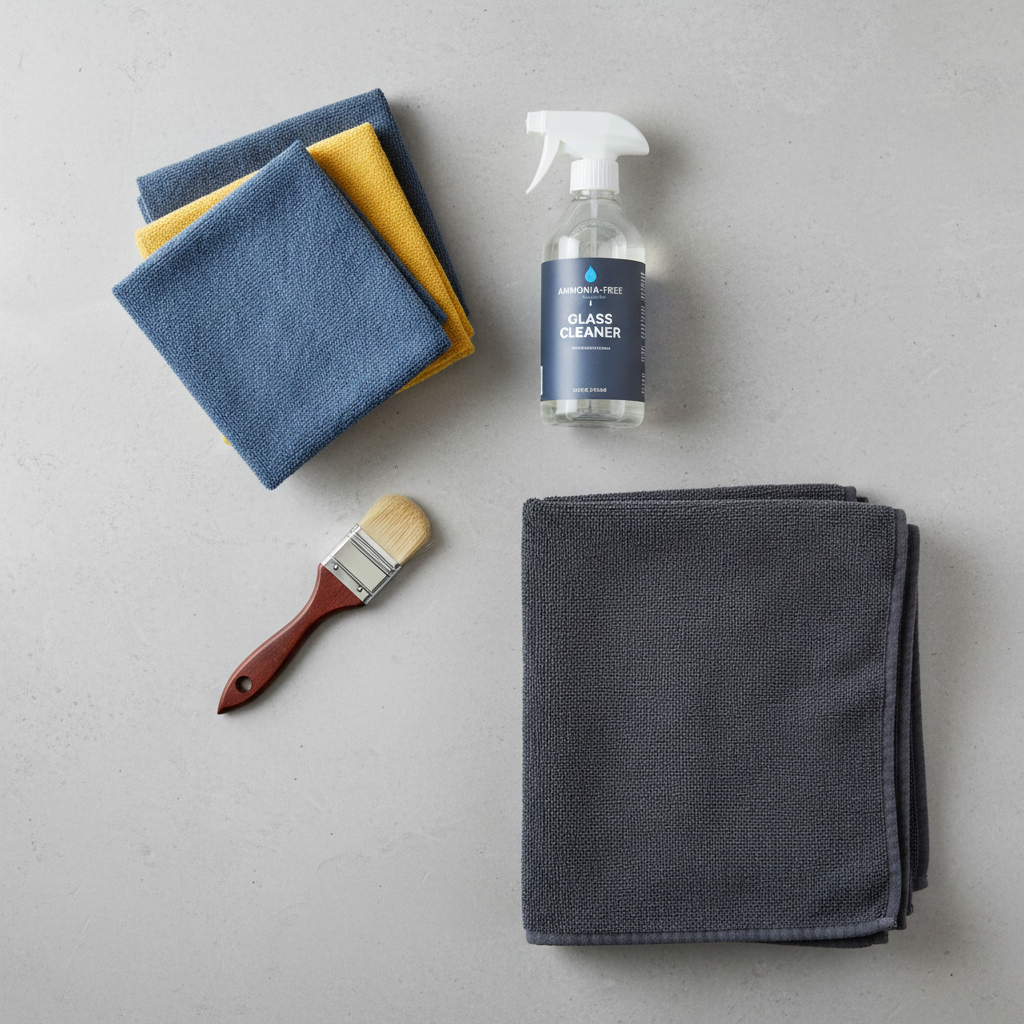
Tools and products that actually help (and what to avoid)
You don’t need a cabinet of detailing chemicals, but you do need the right cloths. Most streaking problems start here.
- 2–3 microfiber towels: One for cleaning, one for drying/buffing, one as backup. Avoid fabric softener when washing them.
- Glass cleaner safe for auto interiors: Many people prefer an ammonia-free option, especially around tinted windows and interior plastics.
- 70% isopropyl alcohol (optional): Helpful for oily film when used lightly on a towel, not poured on the dash.
- Small detailing brush or soft toothbrush: For edges near the defroster vents.
- Drop cloth or old towel: Protect your dashboard and electronics from drips.
What to skip in many cases: paper towels (lint), heavy-duty degreasers (overkill and can damage trim), and strongly scented household sprays (often leave residue).
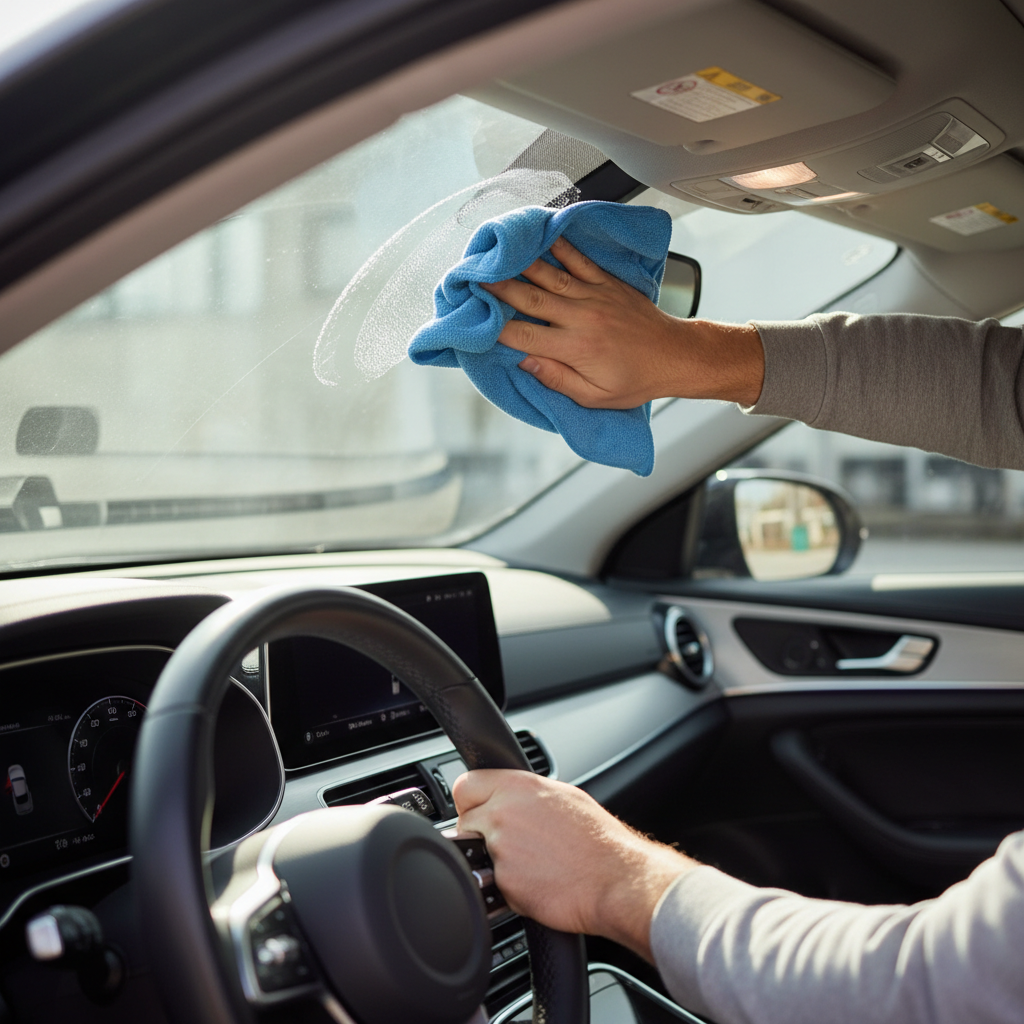
Step-by-step: how to clean inside of windshield without streaks
This is the workflow that tends to stop the endless “wipe, smear, wipe again” cycle. Give yourself 10–15 minutes the first time.
1) Pick the right conditions
Park in shade or a garage if you can. Hot glass flashes cleaner quickly and can lock in streaks.
2) Protect the dash and aim your spray
Lay a towel along the base of the windshield. Spray the cleaner onto the microfiber, not onto the glass, so you avoid overspray into vents and on screens.
3) First pass: break the film
Wipe in a tight, overlapping pattern. Many people like a “crosshatch” approach: side-to-side on the first pass, then up-and-down on the second, so you can see what you missed.
4) Edge work (the part everyone forgets)
Wrap the towel around your hand and push into corners. Use a soft brush at the bottom edge if grime has built up near defroster vents.
5) Second pass: buff completely dry
Switch to a dry microfiber and buff until the glass feels squeaky. If it still feels slick, you likely need another “film-breaking” pass.
6) Spot-fix stubborn oily haze
Lightly dampen a towel corner with 70% isopropyl alcohol, wipe the problem area, then immediately follow with your glass cleaner and a dry buff. Keep alcohol away from delicate trim and test a small area if you’re unsure.
Practical tell: If your final towel picks up gray or brown residue, you removed film, not just dust.
A simple plan for different scenarios (table)
Different mess, different approach. This quick table saves time and reduces trial-and-error.
| What you notice | Likely cause | What usually works | What often makes it worse |
|---|---|---|---|
| Smears that return right away | Oily outgassing film | Two-pass clean + dry buff, optional light alcohol spot treatment | Paper towels, too much product, wiping once and stopping |
| Sticky haze, stale smell | Smoke/vape residue | Ammonia-free glass cleaner + multiple clean towels, repeat passes | “All-purpose” interior sprays that leave conditioner behind |
| Little dots or cloudy patches | Overspray residue or mineral spotting | Targeted re-clean, careful buffing, avoid soaking the area | Scrubbing hard with abrasive pads |
| Fogging nonstop in wet weather | Humidity + cabin airflow issues | Clean glass + check cabin air filter and use defrost correctly | Wiping fog with your hand or a dirty cloth |
Common mistakes that cause streaks (and how to avoid them)
Most “I cleaned it but it looks worse” stories come from a few predictable habits.
- Using one towel for everything: Once a towel loads up with film, it spreads it. Rotate towels sooner than you think.
- Too much cleaner: More spray often equals more residue. Mist the towel, don’t soak it.
- Cleaning in direct sun: Fast evaporation leads to patchy streaks that show up later.
- Ignoring the final dry buff: The dry towel step is where clarity returns.
- Letting interior dressings mist onto glass: If you use shiny dashboard products, apply carefully and keep them off the windshield area.
According to NHTSA, clear visibility is a core part of safe driving, so if you routinely drive at night, it’s worth treating interior glass clarity as maintenance, not cosmetics.

When cleaning isn’t enough: signs you need deeper help
Sometimes you can follow every step in how to clean inside of windshield and still see distortion. That’s usually not “user error,” it’s a different issue.
- Pitting or micro-scratches on the glass can scatter light and mimic haze.
- Wiper damage on the outside often looks like an inside problem at night, clean both sides to confirm.
- Interior plastic off-gassing can be heavy in newer vehicles or during hot summers, you may need more frequent cleaning for a while.
- Persistent fogging may point to HVAC or moisture intrusion, a cabin air filter or A/C performance check can help.
If visibility stays compromised after multiple attempts, or you suspect HVAC issues or windshield defects, a reputable detailer or auto glass shop can diagnose faster. If you experience dizziness or irritation from strong chemical smells, ventilate the car and consider consulting a medical professional.
Conclusion: a clearer windshield is mostly process, not pressure
Most drivers get a noticeably clearer view once they treat interior haze like oily film, use clean microfibers, and commit to the dry buff step, that’s the part that makes night glare drop.
If you want a quick next move, clean the inside glass twice in one session with two separate towels, then check your results at dusk. If haze keeps returning fast, look at what’s happening in the cabin, heat, smoking/vaping, or dashboard products often explain the pattern.