
how to replace car headlight bulb halogen is usually a straightforward driveway job, but the little details matter, touch the glass, route the wiring wrong, or install the bulb slightly crooked and you can end up with dim light, glare, or a short bulb life.
If you drive at night, commute early, or deal with rain and fog, headlight performance is not just a convenience thing, it affects what you can see and what others see from you. The good news is most halogen bulbs are designed to be serviceable with basic tools.
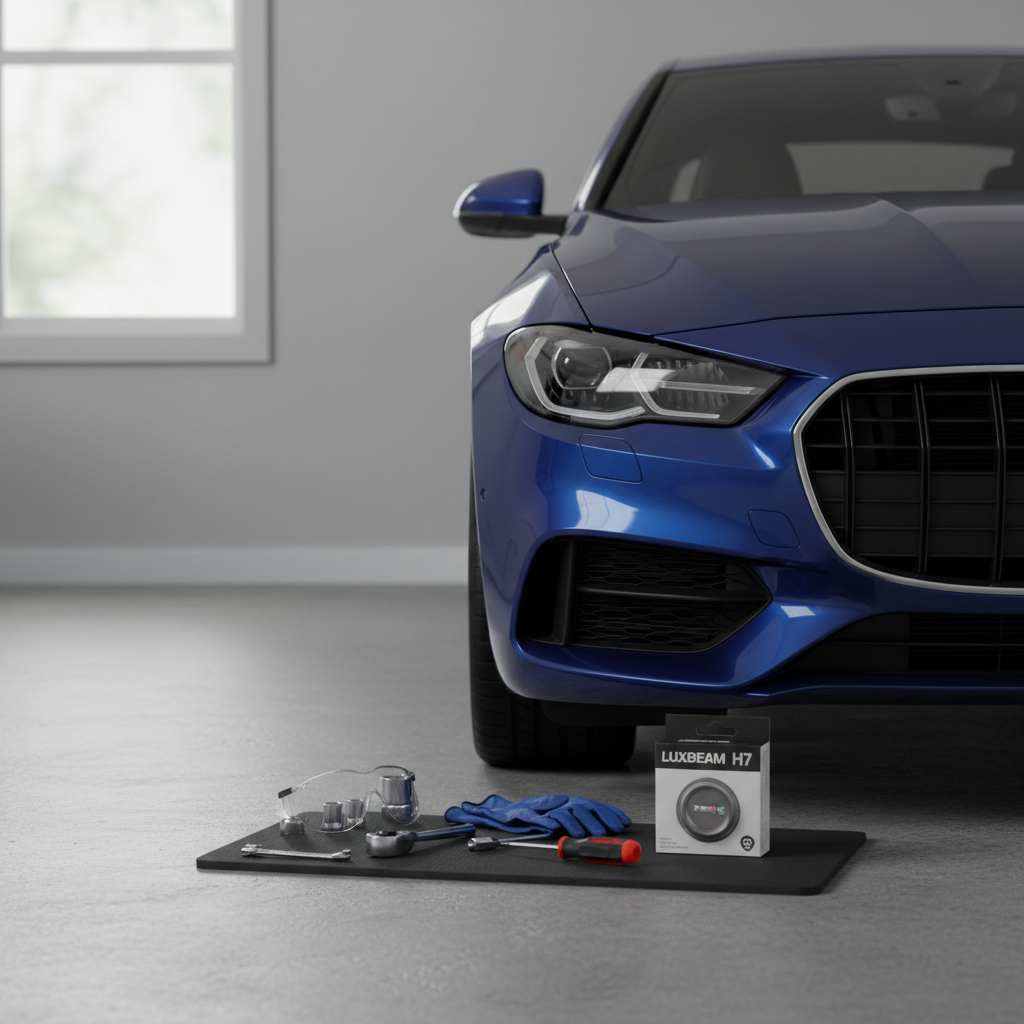
Below is a step-by-step process that works for many US-market cars, plus quick checks to help you decide whether you can handle it yourself or whether it makes more sense to ask a shop. I’ll also call out the mistakes people repeat, because that’s where the “I replaced it but it’s still not right” stories come from.
Before You Start: Confirm the Bulb Type and Access
Most “halogen headlight” setups use a replaceable bulb (common types include H11, 9005, 9006, H7), but some vehicles have limited access behind the headlamp, and a few trims may use HID or LED instead. If the bulb type is wrong, everything that follows turns into a wrestling match.
According to NHTSA (National Highway Traffic Safety Administration), headlamps must meet certain performance and aiming requirements, which is one reason it’s worth using the correct bulb type and getting the fit right rather than improvising.
- Check your owner’s manual for the exact bulb code and whether the car uses separate bulbs for low beam and high beam.
- Look at the bulb you’re replacing and match the code printed on the base or the packaging.
- Confirm access: some cars require removing an air intake snorkel, battery cover, or wheel-well liner to reach the back of the housing.
If you’re shopping for bulbs, many drivers choose “standard” output for longevity, and “plus/brighter” halogen for extra reach, but brighter options often trade off some lifespan. That’s not always a dealbreaker, just something to go in with eyes open.
Safety and Prep: What to Do (and Not Do) in the Driveway
Halogen bulbs run hot, and the housing sits near wiring and plastic parts, so give yourself a calm, clean setup. This is where most of the avoidable mistakes happen.
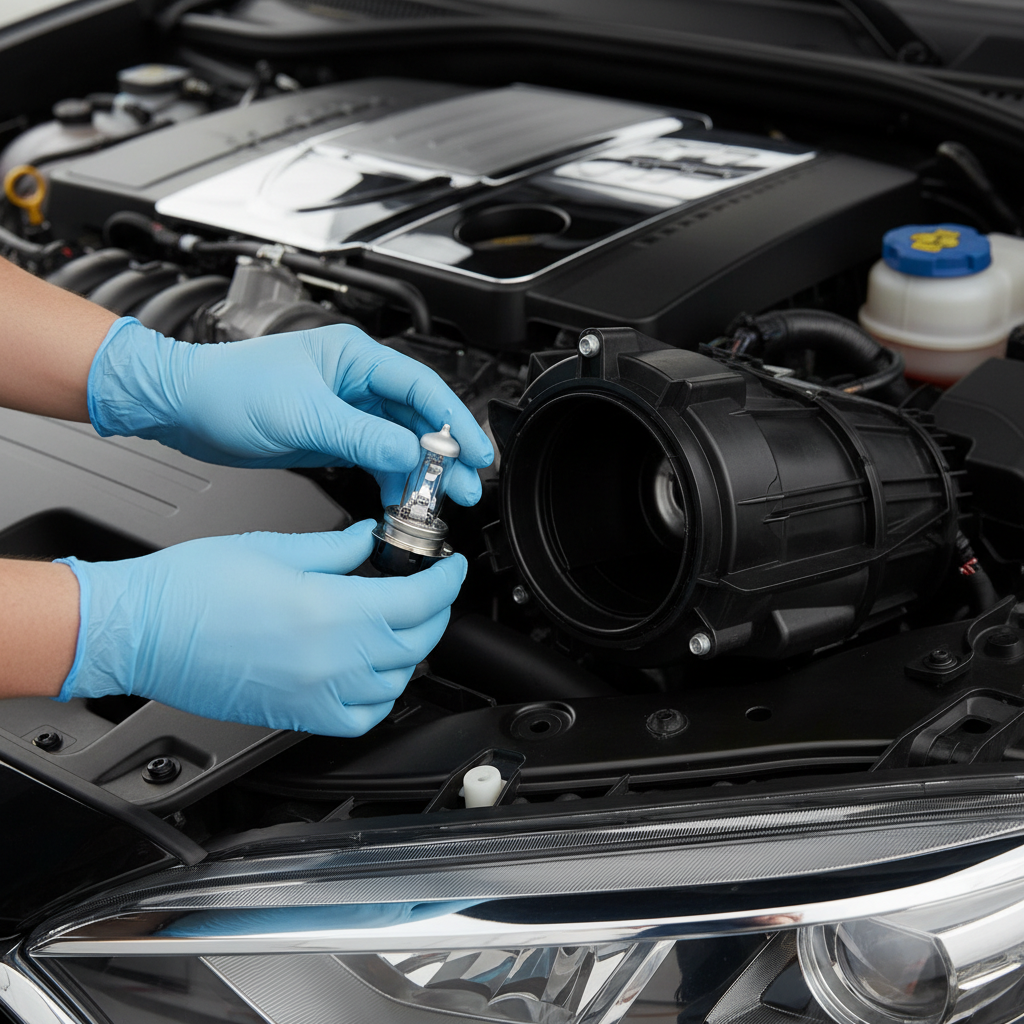
- Turn the car off, remove the key, and let the headlight cool if it was recently on.
- Use gloves or a clean paper towel when handling the new bulb. Skin oils on the glass can create hot spots and may shorten life.
- Avoid “upgrading” wattage. Higher-watt halogen bulbs can overheat housings and wiring in many vehicles.
- Work in good light and keep small clips or covers in a tray so they don’t vanish into the engine bay.
If you need to remove the battery or a large component for access, that’s a sign the job may take longer than the typical 10–20 minutes, plan accordingly.
Quick Self-Check: Is It Really the Bulb?
Before you pull anything apart, do a quick sanity check. A dead bulb is common, but not the only cause of a dark headlight.
- One side out, other side works: often a bulb, but it can also be a connector issue.
- Both headlights out: more likely a fuse, relay, switch, or wiring issue.
- Intermittent flicker: sometimes a loose connector, corrosion, or a failing bulb.
- Dim/yellow compared to before: could be an aging bulb, cloudy lens, low system voltage, or poor ground.
If you’re unsure, swapping the left and right bulbs (when the same type) is a practical test. If the problem moves, it points back to the bulb; if it stays on one side, look at wiring, connector, or housing.
Step-by-Step: How to Replace a Halogen Headlight Bulb
This sequence fits many vehicles, but the exact clip style and access path can vary. If something feels forced, pause and reassess, headlight housings and retaining clips can crack more easily than you’d expect.
1) Open the hood and locate the rear of the headlamp
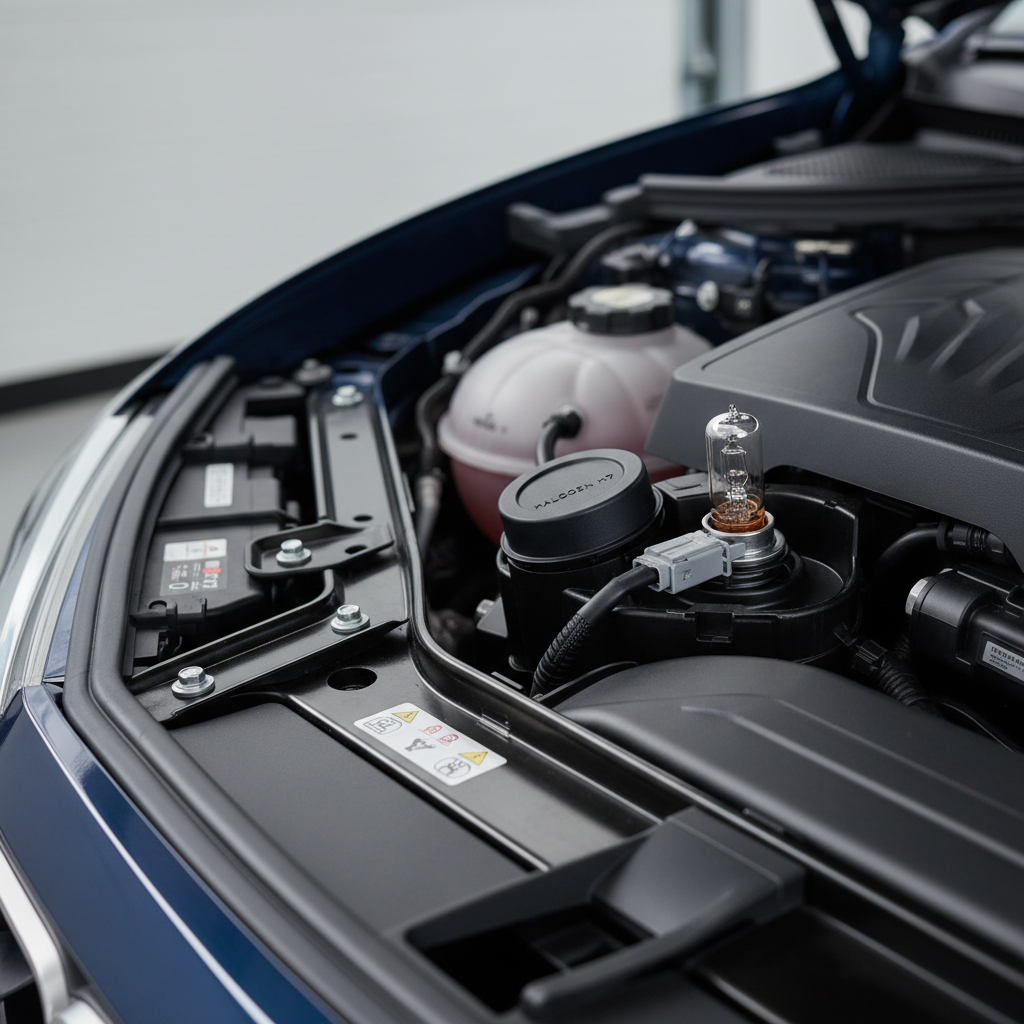
Find the back of the headlight assembly. You’ll usually see a dust cap (rubber or plastic) and a wiring connector going into the bulb base.
2) Remove any cover or dust cap
Some caps twist off, others pull off. Keep an eye on sealing surfaces, that cap helps keep moisture out, and moisture fogging is a common “after replacement” complaint.
3) Disconnect the electrical connector
Press the release tab and pull straight back. If it feels stuck, wiggle gently rather than yanking the wires. If you see greenish corrosion or melted plastic, skip ahead to the “professional help” section.
4) Release the bulb retaining mechanism
Most halogen bulbs are held by one of these:
- Twist-lock base: rotate the bulb base a fraction of a turn and pull out.
- Metal spring clip: press and unhook the clip, then swing it open.
- Plastic locking ring: rotate the ring to unlock, remove, then pull the bulb.
5) Remove the old bulb and note orientation
Before you pull it fully out, note how the tabs line up. Many bulbs only seat one way, and that alignment is what keeps the beam pattern correct.
6) Install the new bulb without touching the glass
Hold the bulb by the base, align the tabs, and seat it fully. If it doesn’t sit flush, don’t “make it work” by twisting harder, pull it out and realign.
7) Re-secure the clip/ring and reconnect the connector
Lock the bulb in place, then plug in the connector until it clicks. Reinstall the dust cap or cover with a clean seal.
8) Test the headlight before reassembling everything else
Turn the lights on and check low beam, high beam, and turn signals if you had to move wiring around. This is also a good time to confirm both sides match in color and brightness.
Practical Tips That Prevent Glare, Flicker, and Early Failure
Replacing the bulb is only half the win. Getting the light output back to “normal” is the real goal.
- Replace in pairs when possible. Halogen bulbs age and dim over time, mixing a new bulb with an old one often looks uneven.
- Clean the lens. If the headlight lens is hazy, a new bulb can’t fully fix it; consider a restoration kit if clarity is poor.
- Check the dust cap seal. A slightly mis-seated cap can invite condensation and shorten bulb life.
- Don’t overtighten rings. Plastic threads can strip, and then the bulb won’t stay stable.
- Verify beam pattern on a wall. Park 20–25 feet from a flat wall on level ground and confirm the cutoff looks even side-to-side.
If you’re chasing a “bulb keeps burning out” issue, look for vibration from a loose assembly, charging voltage problems, or a contaminated bulb. Those cases are real, and they’re frustrating.
Common Mistakes (and What to Do Instead)
Most DIY headlight swaps go wrong in predictable ways. Here are the ones worth avoiding.
- Touching the glass: if it happens, wipe the bulb gently with isopropyl alcohol and let it dry before installing.
- Forcing the bulb to seat: misalignment can create a bad beam pattern and glare for oncoming drivers.
- Buying the “same” bulb but different base: similar codes can look close; match the exact type.
- Ignoring a heat-damaged connector: a loose or melted plug can cause flicker and repeat failures.
One more: people often try to “fix” dim headlights by installing very blue-tinted halogen bulbs. They can look whiter, but they don’t always improve usable road illumination, especially in rain. If visibility is your goal, look for reputable standard or performance halogen options rather than chasing color.
Time, Tools, and Cost: A Realistic Snapshot
Here’s a quick planning table. Your car may differ, but this is a reasonable baseline for many common vehicles.
| Item | Typical DIY | What changes it |
|---|---|---|
| Time per side | 10–30 minutes | Tight access, wheel-well removal, rusted clips |
| Tools | Gloves, flashlight | Socket set, trim tools if panels must move |
| Parts cost | Varies by bulb type/brand | “Plus” bulbs, buying pairs, higher-end brands |
| Risk level | Low to moderate | Fragile clips, hidden fasteners, electrical damage |
When to Get Professional Help (It’s Not a Defeat)
There are a few situations where a shop visit saves time and prevents collateral damage. If any of the below shows up, consider asking a qualified mechanic or lighting specialist, especially if you’re seeing repeated failures.
- Melted connector or burnt smell near the bulb socket
- Water inside the headlamp or recurring condensation after you reseal the cap
- Both headlights out and fuses keep blowing
- Headlight aim seems off after replacement and you can’t get a clean cutoff
Electrical faults can be intermittent and annoying to chase, and in some cases diagnosis requires a multimeter and wiring diagram. If you’re not comfortable with that, it’s reasonable to outsource.
Key Takeaways You Can Save
- Match the exact bulb code from the manual or the old bulb, don’t guess based on “looks similar.”
- Seat the bulb correctly and keep the lens cap sealed to avoid glare and moisture.
- If the issue persists, test side-to-side swaps and inspect connectors before buying more bulbs.
Conclusion: A Clean Replacement Beats a Fast One
If you follow the steps above, how to replace car headlight bulb halogen becomes a predictable task rather than a trial-and-error job. The small habits matter most: keep the glass clean, lock the bulb in the right orientation, and seal the housing back up.
Your next move is simple: confirm the bulb type, set aside 20 minutes in daylight, and replace both sides if the old bulbs have similar age. If anything looks heat-damaged or wet inside the housing, consider professional help before the problem escalates.
FAQ
Do I need to replace both halogen headlight bulbs at the same time?
You don’t have to, but it often makes sense. Many bulbs dim gradually, so pairing a new bulb with an older one can look mismatched and can make you think the new bulb is “not bright enough.”
Why did my new halogen bulb burn out quickly?
Common causes include touching the glass, a loose fit that allows vibration, moisture getting into the housing, or a failing connector. In some cars, charging system issues can also shorten bulb life, a shop can confirm voltage if you suspect that.
Can I install a higher-watt halogen bulb for more brightness?
Usually not a great idea. Higher wattage can create extra heat and may damage the housing or wiring. If you want more usable light, consider reputable performance halogen bulbs in the correct wattage and make sure the lenses are clear.
My headlight still doesn’t work after replacing the bulb, what should I check?
Start with the connector fully seated, then check the relevant fuse and swap the bulb side-to-side if possible. If both sides are out or fuses blow again, wiring or a module issue becomes more likely.
Is it normal to see condensation after changing a bulb?
A small amount can happen if the cap wasn’t sealed or if humid air got trapped. If it persists or you see standing water, the housing seal or cap fit needs attention, and sometimes the assembly has a crack.
Do I need to aim my headlights after changing a halogen bulb?
If the bulb seats correctly, aim usually stays close. Still, it’s smart to check the pattern against a wall, especially if the light looks scattered or oncoming drivers flash you.
Can I use LED bulbs in a halogen housing instead?
It depends on the vehicle and the specific kit. Some conversions create glare or poor beam focus in housings designed for halogen. If you’re considering it, verify legality and beam performance for your car, and consider a professional evaluation.
If you’re doing this more than once because bulbs keep failing, or access is so tight you’re fighting clips every time, it may be worth using a quality bulb set and having a shop inspect the connector and housing seal so the fix actually sticks.