Best emergency car kit roadside choices aren’t about buying the biggest bag, they’re about carrying the right items for your car, your routes, and the season so a small problem doesn’t turn into a long, risky wait.
If you’ve ever had a dead battery, a slow leak, or a surprise breakdown after dark, you already know the real pain point: you don’t need “gear”, you need the one tool you’re missing when it matters. And in the U.S., where driving distances can be long and cell service can be inconsistent, that gap shows up fast.
This guide breaks down what belongs in a solid roadside kit, how to pick between common kit types, what upgrades actually earn their space, and a simple checklist you can use today. I’ll also call out a few items people buy that sound helpful but often disappoint in real use.

What a roadside emergency kit should actually cover
Most roadside situations fall into a few buckets: you can’t move the car, you can’t be seen, you can’t safely wait, or you can’t communicate. A good kit covers those basics without relying on gimmicks.
- Get moving again: dead battery, low tire, minor repair.
- Be visible: especially at night or in rain.
- Stay safe while waiting: warmth, hydration, basic first aid.
- Communicate: light, charging, simple signals.
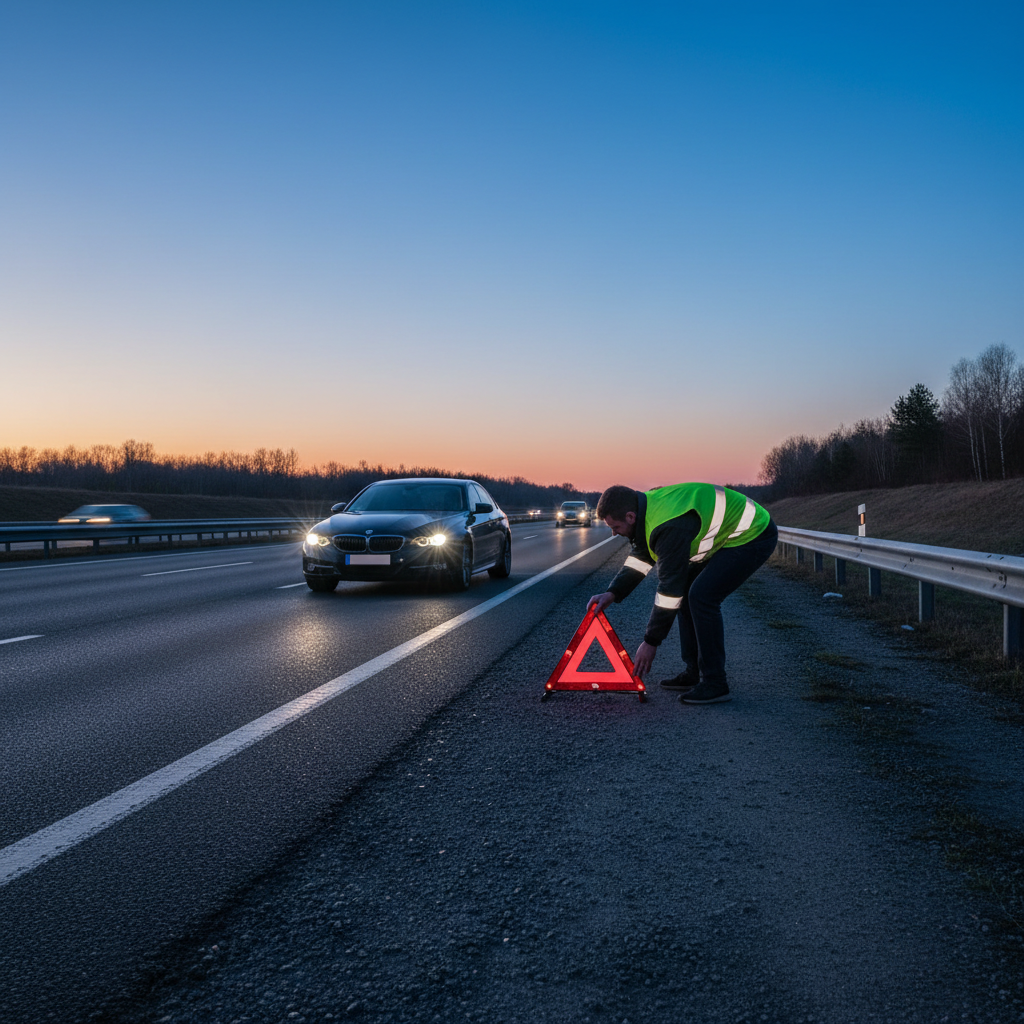
According to NHTSA, visibility and safe behavior around traffic are key factors in preventing secondary crashes, which is why warning devices and lighting deserve priority over “nice-to-have” gadgets.
Core items that belong in the best roadside kits
If a kit skimps here, it’s not a “best emergency car kit roadside” option, even if it looks impressive. These are the building blocks most drivers end up using.
1) Visibility and traffic safety
- Reflective triangles or LED flares (triangles are simple, reliable, and don’t run out of batteries)
- High-visibility vest (helps when you step out to place triangles)
- Headlamp (hands-free beats a flashlight when dealing with a tire)
2) Tire and basic mobility
- Tire pressure gauge (small, accurate ones beat “freebie” gauges)
- Tire inflator that plugs into 12V or runs on its own battery
- Tire plug kit (for tread punctures, not sidewall damage)
- Work gloves and a small kneeling pad
3) Battery and power
- Jumper cables (thicker gauge is usually more usable in cold)
- Or a jump starter (great solo tool, but it must be kept charged)
- Phone charging cable plus a car USB adapter
4) First aid and comfort
- First aid kit with bandages, antiseptic, gauze, tape
- Emergency blanket (space blanket style packs tiny)
- Water and a shelf-stable snack (rotate a few times per year)
According to the American Red Cross, a basic first aid kit and preparedness supplies can help you manage minor injuries while waiting for help, but serious symptoms still warrant professional medical attention.
Quick comparison table: which kit type fits your driving
Most “best” lists ignore how different a city commuter’s needs are from someone doing long interstate drives. Use this as a practical starting point.
| Driver profile | What to prioritize | Nice-to-have upgrades | Common skip |
|---|---|---|---|
| Urban commuter | Visibility, phone power, basic first aid | Compact inflator, vest, headlamp | Bulky shovel |
| Long-distance highway | Triangles, inflator + plug kit, jump starter | Extra water, tow strap (if you know how) | Cheap multi-tool set |
| Cold/snow regions | Warmth, traction, battery support | Small shovel, traction aids, hand warmers | Low-quality thin cables |
| Hot/desert regions | Water, shade, visibility | Sun hat, electrolyte packets | Items that melt/leak |
| Family car | First aid, comfort, visibility | Extra blanket, wipes, spare charging cable | One-size “tiny” kits |
How to choose a kit: a fast self-check that prevents bad buys
Before you pick anything, answer these. It keeps you from paying for stuff you’ll never use, and missing the one thing you will.
- Where do you break down? city streets, interstates, rural roads, mountain passes
- Do you drive alone often? if yes, a jump starter and headlamp matter more
- Your climate extremes? freezing nights or extreme heat change priorities
- Tire setup? full-size spare, donut, run-flat, or no spare with sealant
- Your physical comfort level? if you don’t want to do tire plugs, focus on inflator + visibility + calling help
- Storage reality? sedan trunk vs compact hatch vs truck cab changes what fits
If two of your answers point to “long waits possible”, build for comfort and visibility first. That’s where “best emergency car kit roadside” planning tends to pay off.
Practical add-ons that usually earn their space
Many kits include filler, but a few upgrades consistently make roadside work easier. Add these based on your situation rather than trying to max out everything.
- Quality headlamp + spare batteries (or rechargeable you actually maintain)
- Compact air compressor with a real hose (less frustration than ultra-cheap mini inflators)
- Traction aids (sand ladders/traction boards for snow, sand, mud scenarios)
- Rain poncho and mechanic-style nitrile gloves (clean hands, better grip)
- Glass breaker/seatbelt cutter from a reputable brand, mounted where you can reach it
One small reality check: more gear increases the chance something is dead, leaking, or missing when you need it. Fewer items, better quality, maintained on a schedule often wins.
Step-by-step: build your kit in 30 minutes (and keep it ready)
This is the “do it today” plan that works whether you buy a pre-made kit or assemble your own.
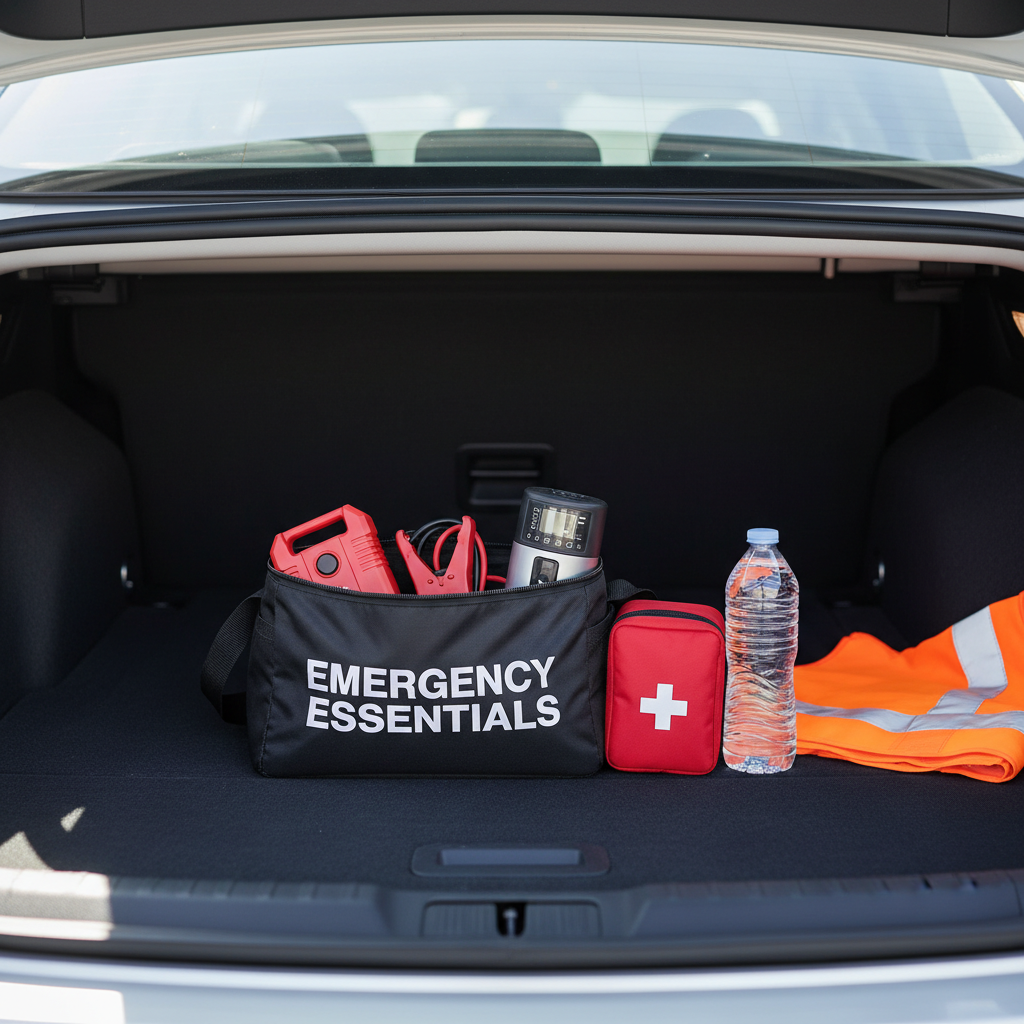
Step 1: Start with a simple container
- Soft-sided bag with compartments works well for trunks.
- Hard case makes sense if items get crushed or wet.
Step 2: Pack in priority order
- Top layer: vest, headlamp, triangles, gloves
- Middle: inflator, plug kit, basic tools
- Bottom: first aid, blanket, water (secured to prevent rolling)
Step 3: Add a “paper backup”
- Insurance card copy and emergency contacts
- Simple instruction card: where spare tire/jack points are, tow hook location if applicable
Step 4: Set a maintenance reminder
- Every 3 months: check jump starter charge, batteries, and water/snacks rotation.
- Before road trips: test inflator power-up and confirm you have the right cable for your phone.
According to AAA, staying visible, remaining aware of traffic, and using your hazard lights are important when stopped roadside; when conditions feel unsafe, calling for help and staying in the vehicle may be the safer option.
Mistakes that make “good” kits fail on the roadside
A lot of frustration comes from kits that look complete but don’t hold up when you’re actually on the shoulder with cars flying by.
- Buying a kit with tiny, low-output flashlight and no hands-free light option.
- Assuming a sealant can fixes every tire issue; sidewall damage and large punctures often need towing.
- Carrying a jump starter you never charge; it’s a brick when neglected.
- Storing loose items that become projectiles in a hard brake or crash.
- Over-indexing on tools you don’t know how to use, then freezing up roadside.
If you’re not comfortable doing roadside repairs, that’s fine. Build around safety, visibility, and communication, and plan to call assistance for the mechanical part.
When to call for professional help (and not “DIY it”)
Roadside work can be legitimately dangerous, especially at night, in heavy rain, on narrow shoulders, or when you’re near fast traffic. In these cases, it’s often smarter to prioritize visibility and call for help.
- Any fuel smell, smoke, or signs of overheating
- Tire damage on the sidewall or a blowout
- Battery issues with corrosion or unclear wiring
- Medical symptoms like chest pain, faintness, severe bleeding, or shock, call emergency services and consider professional medical advice
- Unsafe shoulder where exiting the vehicle puts you at risk
Even with the best emergency car kit roadside setup, there are moments when the safest move is to stop trying to fix it and focus on staying visible and protected until help arrives.
Key takeaways you can act on today
- Build for the likely problem: battery, tire, visibility, and waiting safely.
- Choose quality over quantity, then maintain what you carry.
- Match the kit to your route and climate; “one kit for everyone” is mostly marketing.
If you do one thing this week, check your tire setup and add visibility gear you can deploy in under a minute. That single change often makes the biggest difference when something goes wrong.
FAQ
What should be in the best emergency car kit roadside for most drivers?
At minimum: reflective triangles or flares, a high-vis vest, a headlamp, basic first aid, water, an inflator, and a way to address battery issues (cables or a jump starter). Most “extra” items are optional until these are covered.
Is a jump starter better than jumper cables?
For many people, yes, because you don’t need another car. The tradeoff is maintenance: if you don’t keep it charged, it won’t help. Cables are simpler but depend on finding assistance and having safe space to connect.
Do I need both a tire inflator and a tire plug kit?
Often they work best as a pair because plugs handle small punctures while the inflator restores pressure. If you’re not comfortable plugging a tire, keep the inflator and plan for roadside service when a leak won’t hold.
Are emergency flares or reflective triangles better?
Triangles are reliable and don’t rely on batteries, which is why many drivers prefer them. LED flares can be excellent too, especially in bad weather, but check battery type and brightness before trusting them.
What emergency supplies should I add for winter driving?
Add warmth and traction: an extra blanket, hand warmers, a small shovel, and traction aids. Cold weather also stresses batteries, so a maintained jump starter or good cables become more important.
How often should I replace items in a roadside kit?
Check every few months. Rotate water and snacks periodically, replace first aid items you used, and test lights and inflators. If you store anything temperature-sensitive, inspect more often.
Where should I store my roadside emergency kit?
Trunk storage is common, but keep the “first-reach” items accessible: vest, light, and triangles. Whatever location you choose, secure the bag so it doesn’t slide around.
If you’re trying to pick a best emergency car kit roadside setup without wasting money on filler, a simple approach is to start with a solid base kit, then add just two or three upgrades that match your climate and driving routine.