how to check transmission fluid level is one of those basic maintenance tasks that can save you from rough shifting, slipping, or a transmission that just feels “off” when you least expect it.
The tricky part is that not every vehicle lets you check it the same way, and plenty of newer cars don’t even have a traditional dipstick, so people end up checking the wrong thing, using the wrong fluid, or overfilling.
This guide breaks the process into two paths, dipstick transmissions and sealed “no-dipstick” designs, plus a quick checklist to decide which one you have, what “good” fluid looks like, and when it’s smarter to stop and call a shop.
Before You Start: Know What You’re Checking
Transmission fluid does more than “lubricate.” In many automatics, it also supports hydraulic pressure for shifting and helps carry heat away, so level and condition matter more than most people assume.
According to NHTSA, unexpected vehicle movement and drivetrain issues can contribute to safety risks, so if you notice severe slipping, delayed engagement, or burning smells, treat this as a safety check, not just maintenance.
Quick terminology that helps
- Automatic transmission fluid (ATF): Most common in U.S. vehicles with traditional automatics, many use specific specs (DEXRON, MERCON, ATF+4, etc.).
- CVT fluid: For continuously variable transmissions, not interchangeable with ATF in most cases.
- Dual-clutch (DCT): May use special gear oil or fluid, procedures vary a lot by model.
- “Sealed” transmission: Usually still serviceable, but checked via a fill/level plug with a specific temperature range.
Tools and Supplies (What You’ll Usually Need)
Most dipstick checks take five minutes. Sealed designs can take longer because fluid temperature and vehicle leveling matter.
- Clean lint-free rag or paper towels
- Flashlight
- Nitrile gloves (optional, but nice)
- Funnel designed for ATF (only if you’re adding)
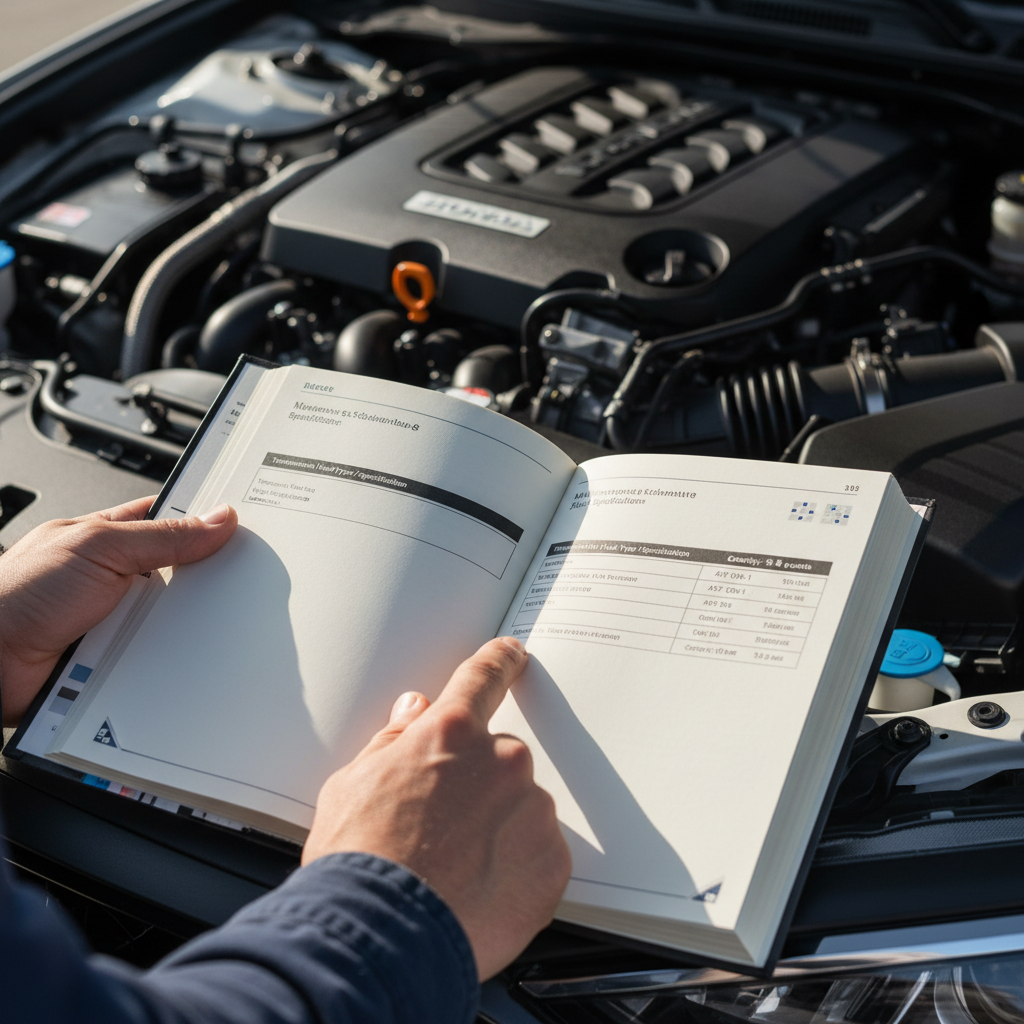
- Owner’s manual or manufacturer service info for your model
Key point: Don’t buy fluid until you confirm the exact spec, mixing fluids can cause shifting issues in some vehicles.
Which Type Do You Have? A Fast Self-Check
If you’re unsure how to check transmission fluid level on your car, don’t guess, use these quick signals before you pop any plugs.
- Dipstick present: Often a red, black, or yellow handle labeled “TRANS” or “ATF.”
- No dipstick: The engine bay has no transmission dipstick, owner’s manual may say “dealer service” for ATF level.
- Underbody level plug: Some vehicles have a fill plug and a separate level/check plug on the transmission case.
- Warning on dash: A transmission temp warning or “transmission service” message suggests you should diagnose beyond just level.
If your manual points to a “check plug” method or mentions a temperature window, treat it as sealed, even if someone online insists otherwise for “similar” models.
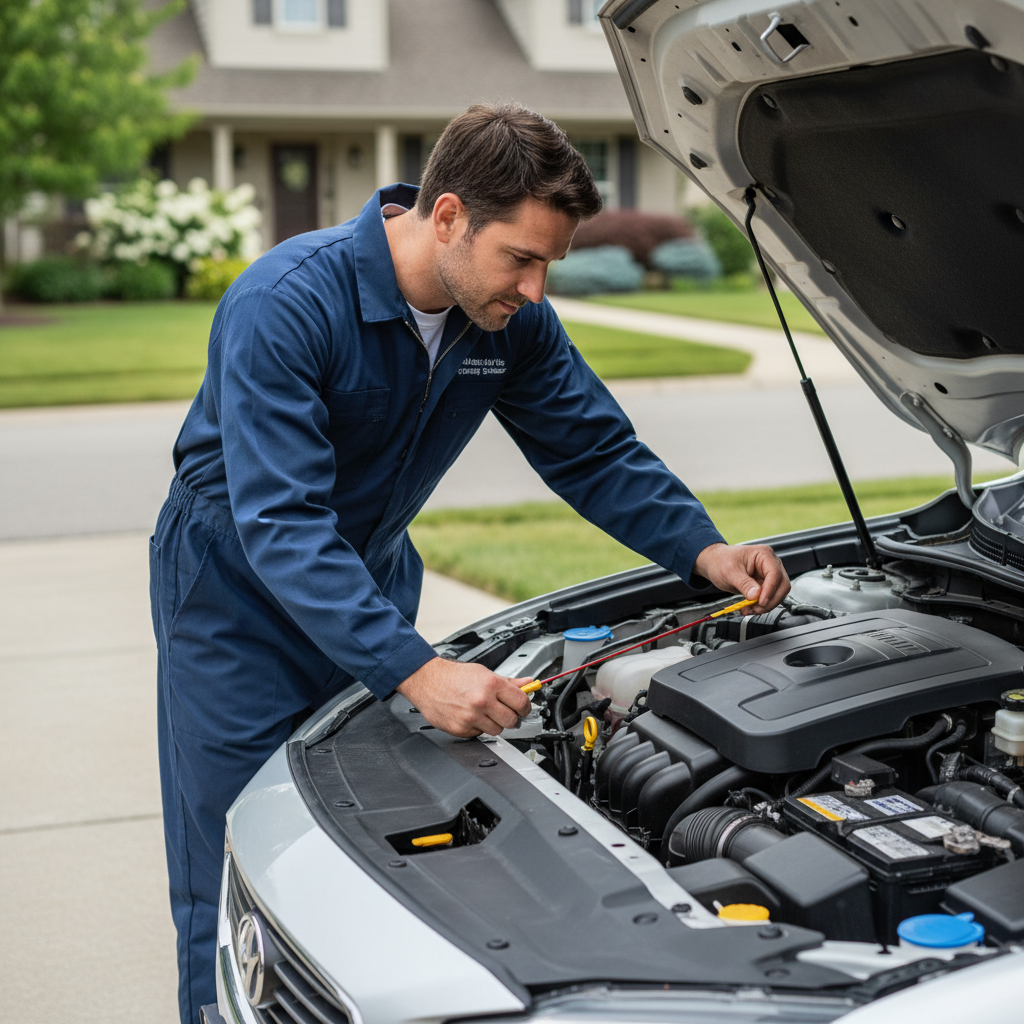
How to Check Transmission Fluid Level (Dipstick Method)
This is the classic method, but the steps still vary by vehicle. Some want the engine idling in Park, others want it warm and in Neutral. If your dipstick has instructions stamped on it, follow those first.
Step-by-step
- Park safely: Level ground, parking brake on, wheels chocked if you’re on any slope.
- Warm it up: Many vehicles require fluid at operating temperature. A 10–15 minute drive often gets you close.
- Cycle gears: With your foot on the brake, move through P-R-N-D and back, pausing briefly in each gear. This helps fill passages.
- Check with engine running (often): Many automatics require the engine idling in Park. Confirm in your manual.
- Pull dipstick, wipe, reinsert, pull again: Read level on the “HOT” or “WARM” side depending on temp.
How to read the dipstick without overthinking it
- Within the marked range: Usually acceptable, aim near the upper half when hot unless your manual says otherwise.
- Below the range: Low fluid can cause delayed engagement or slipping, but don’t assume “just add a bunch.” Add in small amounts.
- Above the range: Overfill can aerate fluid (foaming), leading to erratic shifting and heat.
If you need to add fluid
- Add small increments (often 0.25–0.5 quart at a time).
- Wait a minute, then re-check.
- Stop once you’re in range, chasing the absolute top line can backfire.
Practical reality: If it’s low and you don’t see an obvious external leak, it may still be leaking slowly at the pan gasket, cooler lines, axle seals, or torque converter area, topping off buys time but doesn’t fix the cause.
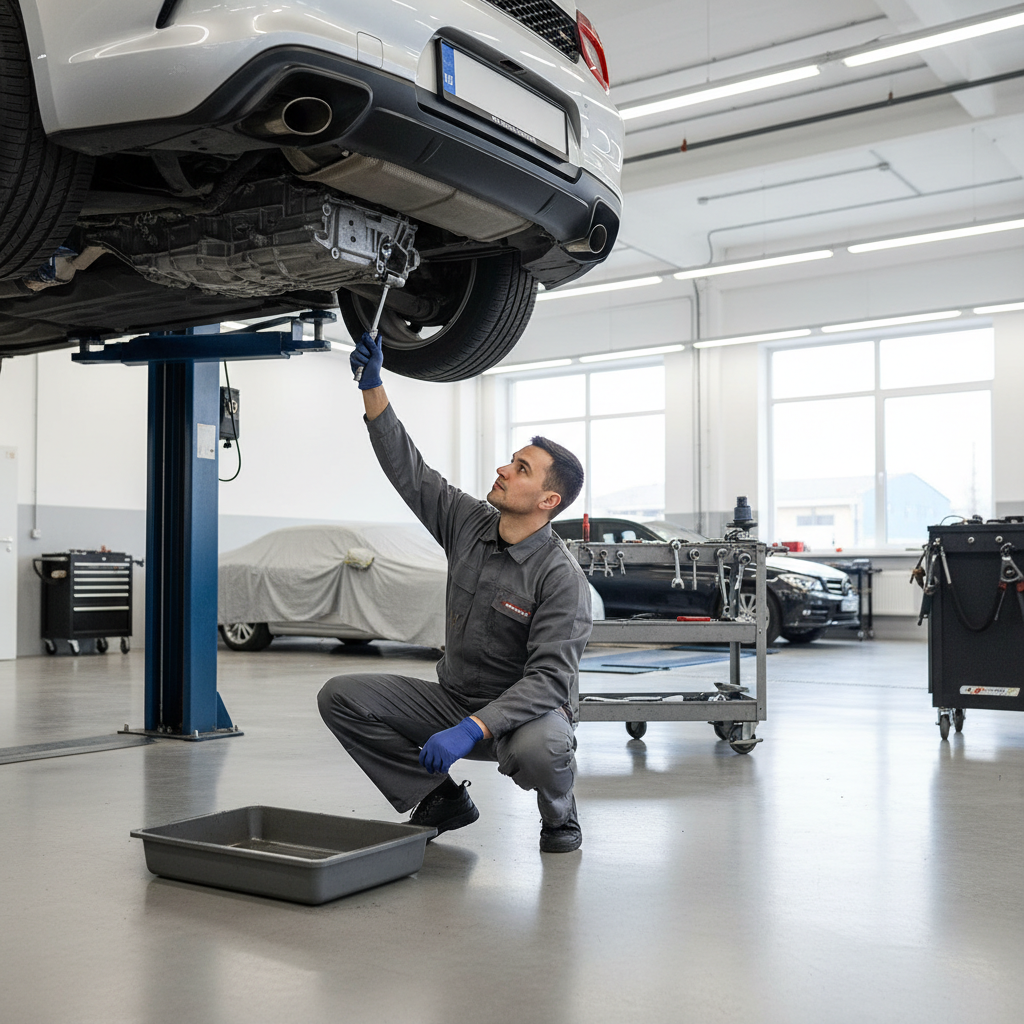
How to Check Transmission Fluid Level (Sealed / No-Dipstick Transmissions)
This is where many DIY checks go wrong. Sealed systems often use a level plug method that depends on the vehicle being perfectly level and the fluid being in a specific temperature range, not just “warm-ish.”
According to SAE International, fluid properties and viscosity change with temperature, which is one reason manufacturers specify a check temperature window for modern transmissions.
What the process typically involves
- Lift the vehicle level (not nose-up on ramps unless the procedure allows).
- Bring transmission fluid to a target temperature range (often verified via scan tool or vehicle data).
- With engine running (common), remove the level/check plug, fluid should dribble out if correctly filled, no gush, no dryness.
- If low, add through the fill port until it reaches the correct overflow behavior, then reinstall plugs with correct torque.
If you don’t have a way to confirm temperature, you can still do a visual leak inspection and plan service, but trying to “set level” blind is where people create new problems.
What “Good” Fluid Looks and Smells Like (And What’s a Red Flag)
Level matters, but condition is the second half of the story. When you’re checking, take ten seconds to look at color and smell on the rag.
| What you see/smell | What it often suggests | What to do next |
|---|---|---|
| Clear red or light amber, mild oil smell | Normal for many vehicles (varies by fluid type) | Keep to your service schedule, re-check for leaks if level drops again |
| Dark brown, still oily, no burnt smell | Aged fluid, heat cycles | Consider a service based on manual and mileage, avoid aggressive “flush” if history unknown |
| Burnt smell, very dark, possibly smoky | Overheating, clutch material wear | Limit driving if symptoms present, schedule professional diagnosis |
| Pink/milky or foamy | Possible coolant contamination or aeration from overfill | Do not ignore, this can escalate quickly, get it checked soon |
| Metal flakes on rag or dipstick | Internal wear | Seek professional evaluation, fluid change alone may not address the cause |
Key takeaway: If the fluid smells burnt or looks contaminated, the “right level” doesn’t automatically mean the transmission is healthy.
Common Mistakes That Make Things Worse
A transmission can be picky, especially on newer vehicles. These are the mistakes that create the most avoidable trouble.
- Using the wrong fluid spec: “Universal ATF” works in some cases, but many transmissions want a specific formulation.
- Checking at the wrong temperature: Hot vs cold marks exist for a reason, sealed checks are even more temperature-sensitive.
- Overfilling: Too much fluid can foam, raise temps, and cause inconsistent shifting.
- Confusing engine oil and ATF dipsticks: It happens more than people admit, slow down and confirm labels.
- Ignoring why it got low: If you top off twice in a month, you likely have a leak that needs attention.
When It’s Smarter to Get Professional Help
You can handle basic checks, but some situations call for a shop, ideally one that can read transmission temperature data and follow OEM procedures.
- You have a sealed transmission and no reliable way to keep the vehicle level and verify fluid temp
- Fluid looks milky, foamy, or smells burnt
- Shifts feel harsh, it slips under load, or it hesitates going into Drive/Reverse
- You spot an active leak at cooler lines, axle seals, or the bellhousing area
- You see a transmission warning light or stored diagnostic codes
According to AAA, staying on top of routine maintenance helps reduce breakdown risk, but when drivability symptoms show up, diagnosis matters more than “adding fluid and hoping.”
Practical Tips to Make the Check Easier Next Time
Once you figure out your vehicle’s method, make it repeatable, that’s how you catch a slow leak early.
- Take a photo of the dipstick markings or the manual page that describes the procedure.
- Write down what fluid spec your vehicle uses and keep it with your maintenance notes.
- If you add fluid, note how much and re-check after a short drive, then again a week later.
- Glance under the car after parking overnight, small spots can be your first clue.
Conclusion: A Quick Check, Done the Right Way
If you treat how to check transmission fluid level as a small routine, not a panic move, you usually catch problems earlier, and you’re less likely to overfill or use the wrong fluid in a rush.
Your next step is simple: confirm whether your transmission has a dipstick or a sealed check plug, follow the exact temperature and engine-running guidance in your manual, then judge both level and condition before you decide to add anything.
If something looks off, burnt smell, foaming, recurring low level, shifting symptoms, getting a professional inspection often costs less than guessing your way into bigger damage.