how to clean car interior fabric seats without stains usually comes down to one thing: using less liquid than you think, and working in small, even sections so the fabric dries uniformly.
If you have ever cleaned a spill and ended up with a darker “water ring,” you already know the frustration, the seat looks worse even though it is technically cleaner. The good news is those marks are often preventable with the right prep, the right agitation, and a controlled drying plan.
This guide walks through what causes stains and tide lines, how to choose a cleaner that matches the mess, and a step-by-step process you can repeat on everything from coffee drips to kid snack smears. I will also flag the moments where a pro detailer or upholstery shop makes more sense than another DIY attempt.
Why fabric seats get “cleaning stains” (and how to avoid them)
Most post-cleaning marks are not new stains, they are uneven residue and uneven drying. Fabric acts like a sponge, so the mess is rarely only on the surface.
- Over-wetting: Too much cleaner or water pushes soil deeper, then wicks it back up while drying, leaving a visible outline.
- Soap residue: High-foam cleaners can leave behind surfactants that grab dirt later, making the area look blotchy.
- Hard water minerals: Tap water can dry with faint mineral spotting, especially on darker seats.
- Heat and sun: Parking in direct sun can dry one section faster than the area around it, creating a “halo.”
- Scrubbing too hard: Aggressive brushing can fuzz fabric, changing how it reflects light, which reads like discoloration.
According to the U.S. Environmental Protection Agency (EPA), you should always read and follow the label on cleaning products and ventilate indoor spaces during use. In a small car cabin, that advice matters even more.
Quick check: what kind of stain are you dealing with?
Before you spray anything, take 20 seconds to identify the stain type. That choice usually determines whether you blot, rinse, or use an enzyme cleaner.
A fast stain ID checklist
- Brown/tan with a sticky feel: coffee, soda, juice, sweet tea
- Greasy, darker, spreads when wet: fast food oils, lotion, makeup, sunscreen
- Cloudy white or chalky: salt, deodorant, dried cleaner residue
- Yellowing with odor: pet accident, milk, protein-based mess
- Muddy grit: shoes, sports fields, road dust
If you are not sure, start with the mildest option, a fabric-safe upholstery cleaner or diluted gentle detergent, and test in a hidden spot near the seat rail.
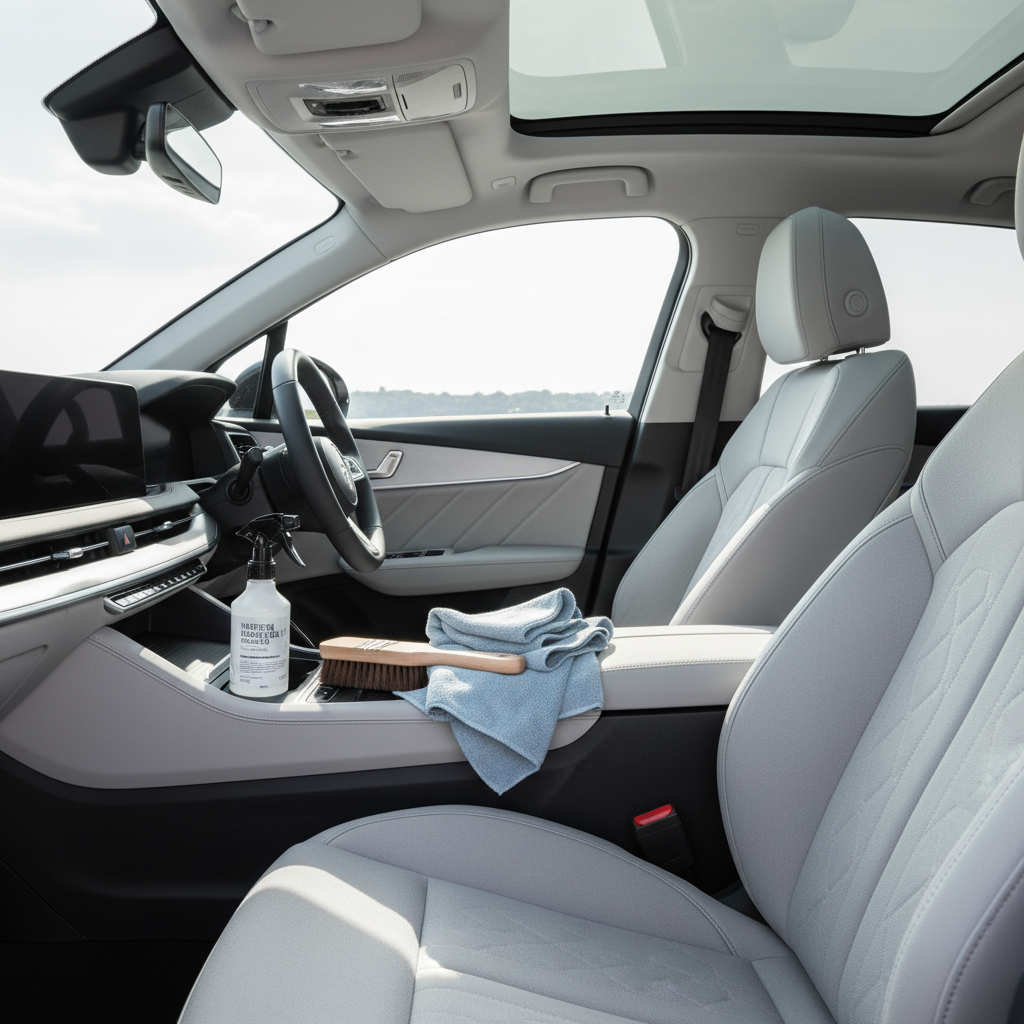
Tools and products that work (without soaking the seat)
You do not need a full detail studio, but the right basics make a real difference because they help you control moisture and lift soil instead of smearing it.
- Vacuum with crevice tool: dry soil first, always.
- Microfiber towels: at least 6 to rotate, white or light-colored helps you see transfer.
- Soft upholstery brush: for agitation without fraying fabric.
- Spray bottle of distilled water: for light rinsing and to prevent mineral marks.
- Upholstery cleaner: low-foam preferred, or a fabric-safe all-purpose cleaner diluted per label.
- Enzyme cleaner (optional): for organic odors and pet-related stains.
- Wet/dry vacuum or extractor (optional): helpful, but you can still get good results without it.
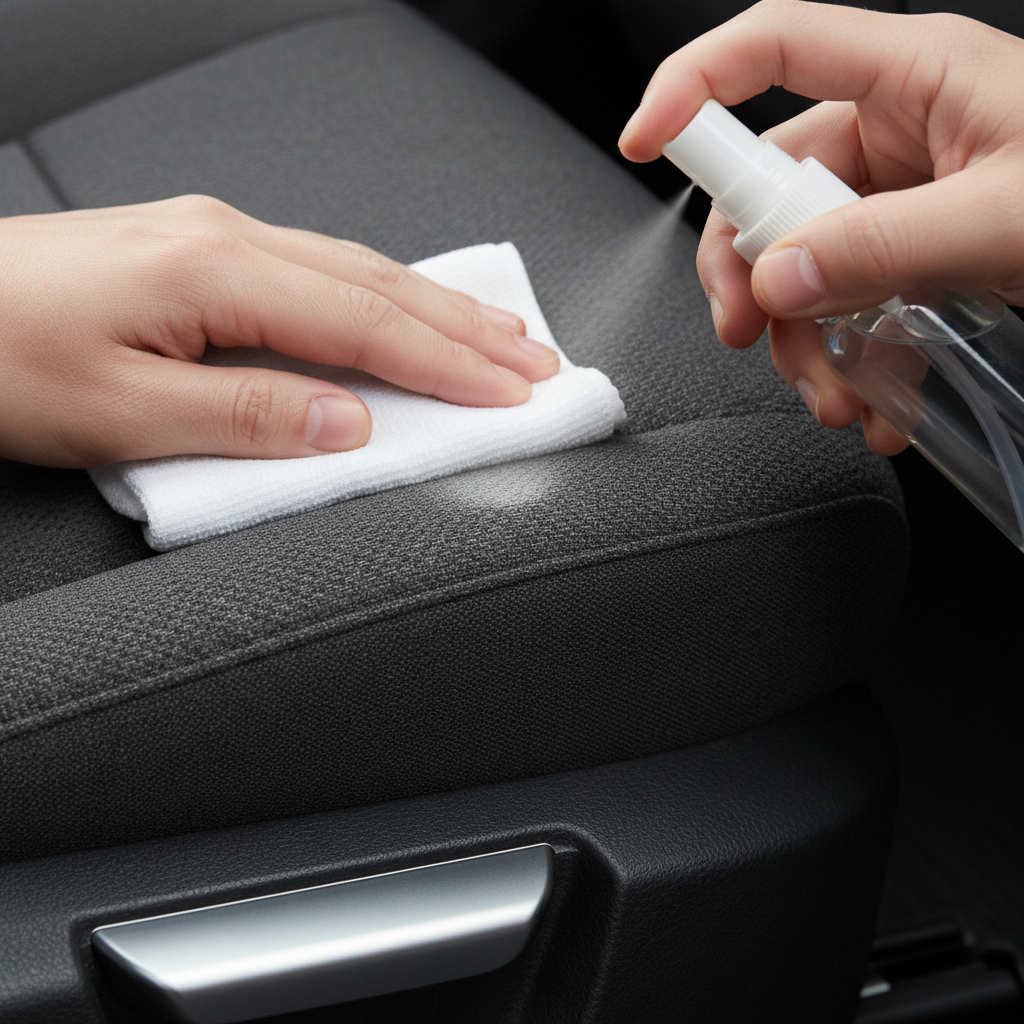
Key point: Whatever you use, apply cleaner to the towel or brush more often than directly to the seat. Direct spraying is how most people overdo it.
Step-by-step: how to clean fabric seats without leaving rings
This is the repeatable method I recommend for most day-to-day messes. It is slow enough to be safe, fast enough to actually finish.
1) Vacuum thoroughly (yes, even if the stain is wet)
Vacuuming pulls out grit that would otherwise turn into muddy streaks when you introduce moisture. Hit seams and the crack between the backrest and bottom cushion.
2) Blot fresh spills, do not rub
Press a microfiber towel into the spot to absorb. Rubbing spreads the spill and can drive it deeper into the foam.
3) Pre-treat the stain with controlled product
Mist cleaner onto a towel, then dab the stain from the outside edge inward. For bigger areas, work a section about the size of a dinner plate so you can keep everything even.
4) Agitate lightly to lift soil
Use a soft brush with short strokes. You are aiming for gentle foaming and loosening, not “scrub until it disappears.” If you see color transfer to the towel, that is normal for dirt, but stop if you suspect dye transfer.
5) Rinse lightly to remove residue
This is where many DIY cleanings go wrong, either no rinse at all or a full soak. Lightly mist distilled water onto a clean towel and blot the area, swapping towels as they load up. If you have a wet/dry vacuum, do a quick pass to pull moisture out.
6) Feather the edges so it dries evenly
Blot an extra 2–3 inches beyond the cleaned spot with a barely damp towel, then a dry towel. This “feathering” step reduces the hard edge that turns into a tide line later.
7) Dry fast, but gently
Open doors, run a fan, or run the car AC with airflow aimed toward the seat. Avoid parking in harsh direct sun while the seat is still damp, uneven drying can show.

What to do for common stains (a practical cheat sheet)
Different stains respond to different chemistry. This table keeps it simple and realistic for home kits.
| Stain type | What usually works | What often causes rings |
|---|---|---|
| Coffee, soda, juice | Upholstery cleaner, light rinse, thorough blotting | Over-spraying and skipping rinse |
| Grease, fast food oils | Fabric-safe degreaser/APC (properly diluted), gentle brush | Too much product left in fabric |
| Milk, pet accidents, vomit | Enzyme cleaner with dwell time, then rinse and extract/blot | Masking odor without removing source in foam |
| Mud and dirt | Let dry fully, vacuum, then spot clean remaining marks | Cleaning while still wet and gritty |
| Salt lines (winter) | Distilled water rinse and blot, repeat until gone | Hard water minerals adding new spotting |
Mistakes that cause “cleaner spots” even when you did everything right
Sometimes the technique is fine, but one small choice creates a visible patch. These are the repeat offenders.
- Using laundry detergent straight: it often leaves residue and can attract dirt later.
- Steam on unknown fabrics: heat can set some stains or relax adhesives under the upholstery.
- Heavy fragrance sprays: they may cover odor while leaving sticky residue that looks dull.
- Scrubbing one dot only: it cleans a “polka dot” into the seat. Blend outward.
- Not letting it dry fully: damp foam can smell musty, and mildew is a real possibility in humid climates.
If you feel lightheaded from fumes or you are cleaning in a closed garage, pause and ventilate. According to CDC guidance on household chemical safety, good ventilation and following label directions reduce irritation risk, and mixing chemicals is a bad idea.
When a pro detailer (or upholstery shop) is the smarter move
DIY works for most surface spills, but a few situations cross into “needs extraction and experience.” If any of these ring true, getting help may save money long-term.
- Repeated pet accidents: urine can soak into foam and under-seat padding, odor returns after every humid day.
- Large area saturation: spilled drink across the entire seat bottom, especially if it reached wiring for seat sensors.
- Dye transfer or unknown stain: ink, denim dye, or mystery discoloration that changes with cleaners.
- Mold or persistent musty smell: this can be a health concern for some people, consider a professional assessment.
Ask what method they use, hot water extraction, low-moisture encapsulation, or steam, and whether they control drying with air movers. A good shop will explain the plan without promising miracles.
Key takeaways you can follow next time
- Dry soil first: vacuuming prevents muddy smears.
- Use less liquid: apply cleaner to a towel or brush, then work it in.
- Rinse lightly: residue is a common reason spots come back.
- Blend edges: feathering prevents rings more than any “stronger” product.
- Dry evenly: airflow beats sunshine when you want a uniform finish.
If you are cleaning this weekend, pick one seat, finish it completely, then move on. That simple pacing helps you keep moisture, agitation, and drying consistent, and consistency is what keeps fabric looking even.
FAQ
What is the safest DIY way for how to clean car interior fabric seats?
Vacuum first, then use a fabric-safe upholstery cleaner applied to a towel, lightly agitate, and do a minimal rinse with distilled water before drying with airflow. The “safe” part is controlling moisture and testing first.
Why do I get water rings after cleaning fabric car seats?
Most rings come from over-wetting or leftover soap. As the seat dries, dissolved soil and residue migrate to the edge of the wet area and dry there, creating a darker outline.
Can I use a carpet cleaner machine on car seats?
Often yes, as long as you avoid soaking the cushion and you extract thoroughly. Car seats are thinner than home carpet over padding, and sitting water can lead to odor or electrical issues in some vehicles.
Do I need distilled water to clean upholstery in my car?
Not always, but it helps if your tap water is hard or if you keep seeing faint spotting. Distilled water is a cheap way to remove one variable when you are chasing a stain-free finish.
What removes old stains from fabric car seats without bleaching?
A dedicated upholstery cleaner with gentle brushing and repeated blot-and-rinse cycles is the usual approach. For organic stains, an enzyme cleaner may help, but it needs dwell time and proper removal afterward.
How do I get smells out of fabric seats after cleaning?
Odor usually means something remains in the foam. Clean the source, rinse out product, and dry faster. If odor persists, an enzyme treatment or professional extraction is often more effective than air fresheners.
Is it okay to use vinegar and baking soda on car seats?
Sometimes, but results vary. Vinegar can help with certain mineral or light odor issues, while baking soda can deodorize when kept dry, but both can leave residue or discoloration on some fabrics, so test first.
How long should fabric seats dry before I drive?
Ideally until they feel dry to the touch, usually a few hours with good airflow. In humid conditions it can take longer, and driving on damp seats can push moisture deeper.
If you are trying to keep fabric seats looking “factory clean” with less trial and error, it helps to standardize your setup: a low-foam upholstery cleaner, a soft brush, a stack of microfiber towels, and a simple drying plan you follow every time.