how to fix car transmission fluid leak at pan comes down to three things: confirming the leak source, resealing the pan correctly, and refilling with the right fluid level so it doesn’t start dripping again a week later. If you’ve seen red or brown fluid on the driveway, or the pan looks wet around the rim, you’re not alone, this is one of the most common “slow leak” spots on many automatics.
The catch is that a “pan leak” is sometimes not the pan at all. Fluid can run down from a cooler line, a case connector, or the axle seal, then collect at the lowest point and make the pan look guilty. That’s why people replace a gasket and still see a drip.
This guide helps you decide whether you can reseal the pan at home, what parts matter, what usually goes wrong in DIY installs, and when it’s smarter to hand it to a shop. You’ll also get a quick checklist and a small decision table to keep it practical.
Why transmission pans leak in real life
Most pan leaks are boring problems with annoying consequences, a small seep becomes a spot on the driveway, then a low-fluid shift issue if ignored.
- Gasket aging or shrinkage: rubber hardens, cork compresses, and the seal stops conforming to the pan rail.
- Pan bolts loosen over time: heat cycles can relax clamping force, especially if someone previously overtightened and distorted the rail.
- Warped pan lip: common after “one more turn” on a small bolt, the steel around bolt holes dimples and leaks between holes.
- Old sealant or debris on the mating surface: a thin film of RTV, dirt, or gasket stuck to the case can create a channel for fluid.
- Overfilled transmission: too much fluid can raise internal pressure and push seepage at weak seals.
According to NHTSA, fluid leaks can contribute to safety risks if they lead to loss of vehicle control or create roadway hazards, which is why you should treat an active leak as time-sensitive, even if the car still “drives fine.”
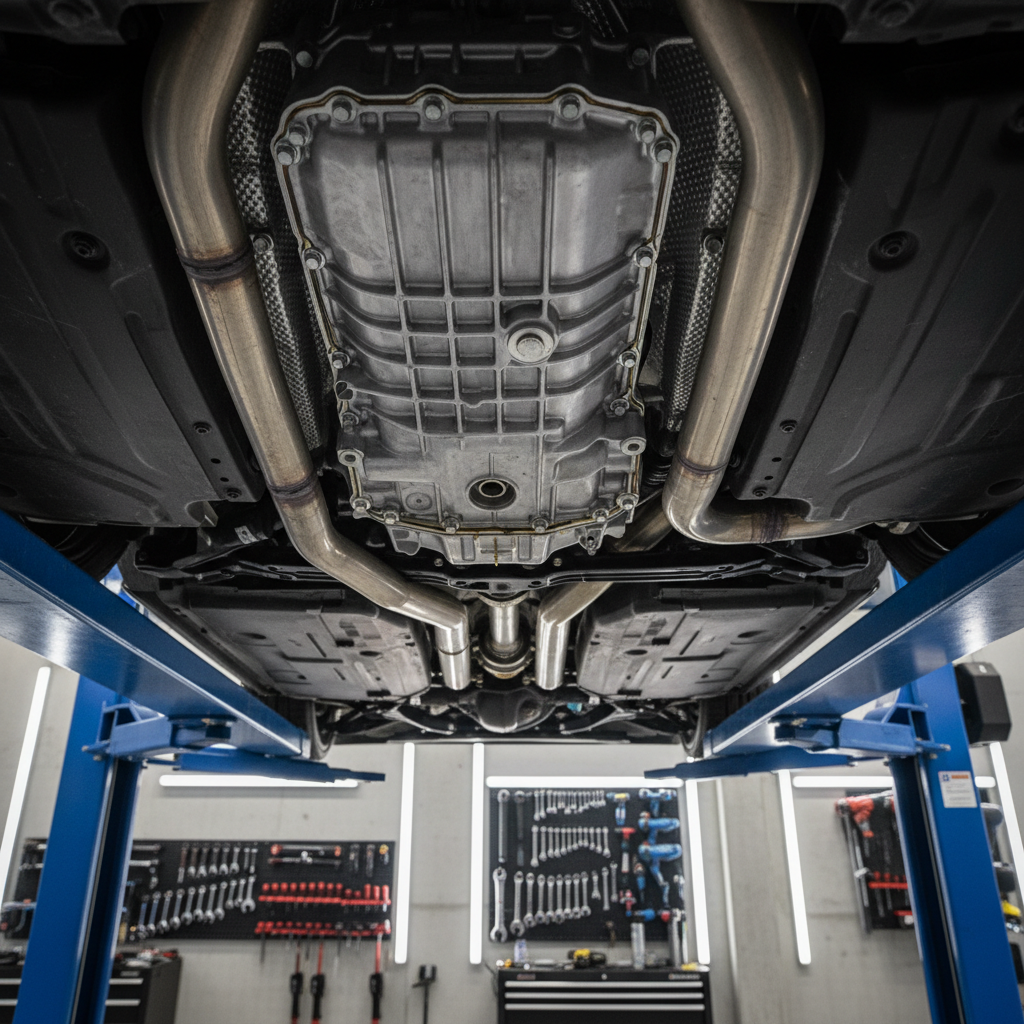
Quick self-check: is it really the pan?
Before you buy a gasket, spend 10 minutes confirming where the fluid starts. This saves the most money, and frankly it saves motivation.
Fast check without special tools
- Wipe the pan rim and nearby case area clean with a rag.
- Drive 5–10 miles, park on clean cardboard, then look for the first wet line.
- Check above the pan: cooler lines, fittings, electrical pass-through, and case seam.
Clues that point away from a pan gasket
- Fluid is wettest on a line fitting above the pan, then trails downward.
- The pan rim looks dry but the side of the case is wet.
- Leak appears only after highway driving, which can point to line pressure or a loose fitting.
If the pan rim is the highest wet point and fluid beads along the gasket seam, you’re likely dealing with a real pan leak.
Tools, parts, and what to buy (without overbuying)
You don’t need a full transmission rebuild kit to reseal a pan, but the exact parts depend on your vehicle and whether it uses a reusable gasket.
- Correct pan gasket: OEM-style is usually safest, some designs are reusable molded rubber.
- Transmission filter (if serviceable): many pans come off with a filter change anyway.
- ATF that matches spec: Dexron/Mercon/ATF+4/CVT fluid vary by model, wrong fluid can cause shift problems.
- Brake cleaner or similar solvent for cleaning mating surfaces.
- Torque wrench: small fasteners are easy to overtighten by feel.
- Drain pan, gloves, rags, and a plastic scraper.
About sealants: many transmissions are designed to seal with gasket only. RTV used “just in case” often creates uneven squeeze-out and leaks later, unless the service manual specifically calls for it at corners. If you’re unsure, check the factory service guidance for your make and model.
Step-by-step: how to reseal the transmission pan
This is the typical workflow for how to fix car transmission fluid leak at pan when the gasket or pan rail is the issue. If your vehicle requires a special fill procedure or temperature-based level check, follow that, some newer transmissions are picky.
1) Prep safely and confirm access
- Park on level ground, set parking brake, use jack stands if lifting.
- Let the transmission cool, hot ATF can burn skin.
- Keep ignition sources away, cleaners and ATF vapors can be flammable.
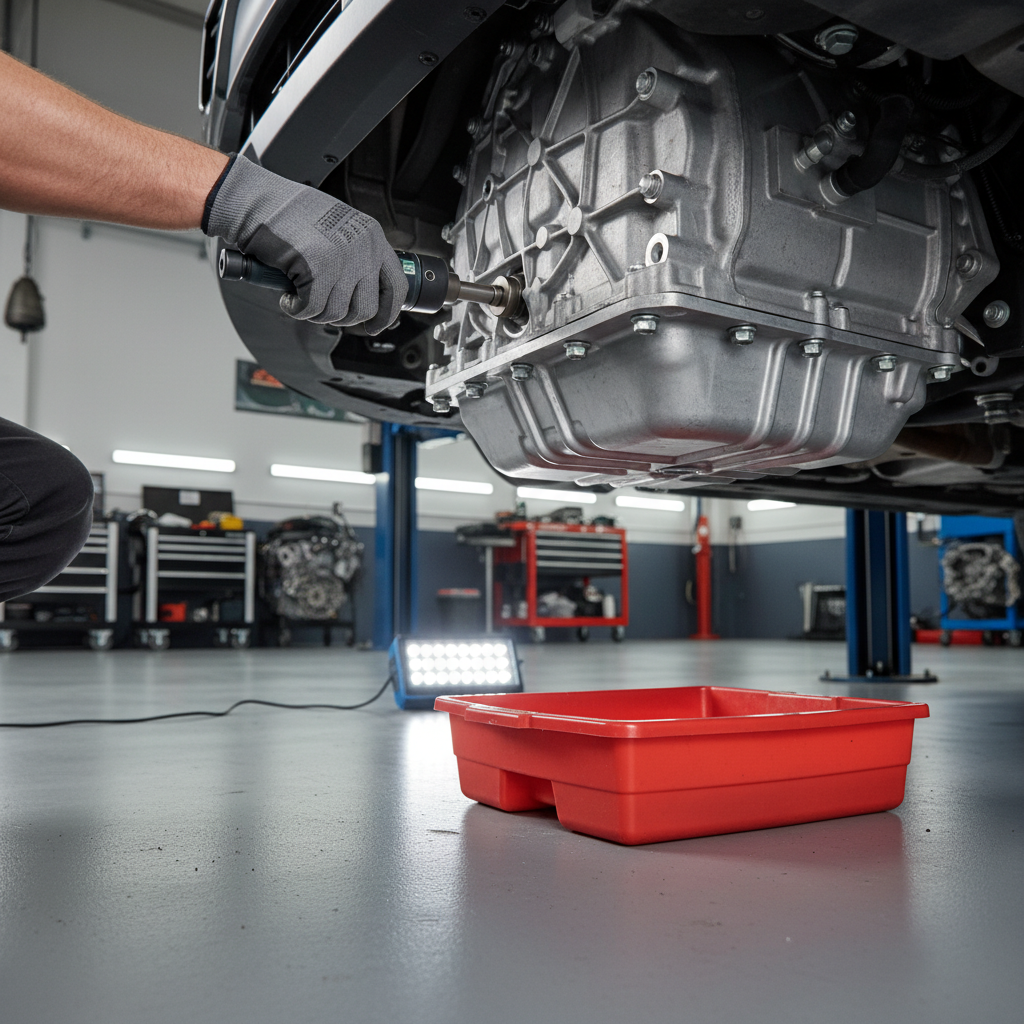
2) Drain fluid (or manage spill) and remove the pan
- If there’s a drain plug, use it, many pans don’t have one.
- Loosen bolts gradually, leaving a few threaded in to control the tilt.
- Lower the pan slowly to avoid a sudden dump.
3) Inspect the pan and rail like you mean it
- Check the pan lip for bolt-hole dimples, a straightedge helps.
- Look for cracks near the drain plug area.
- Inspect the magnet, some fine gray paste is common, chunks or glitter can signal internal wear and may justify professional diagnosis.
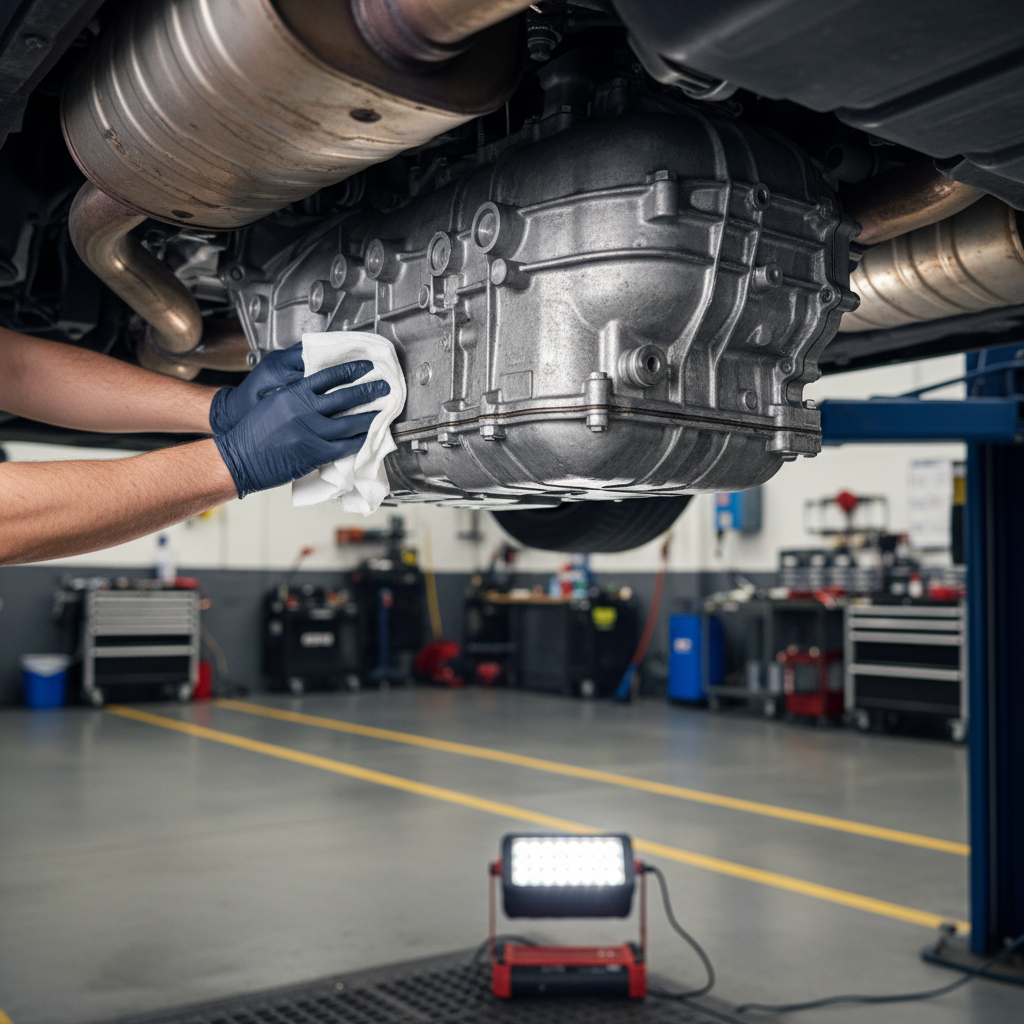
4) Clean mating surfaces thoroughly
- Use a plastic scraper, avoid gouging aluminum case surfaces.
- Remove old gasket material completely.
- Finish with solvent until surfaces are clean and dry.
5) Install gasket and pan, then torque correctly
- Position the gasket without stretching or tearing.
- Hand-thread bolts to avoid cross-threading.
- Tighten in a crisscross pattern, then torque to spec.
Torque matters more than people think. Too loose seeps, too tight warps the pan and guarantees a comeback leak. If you can’t find a spec, a service manual or reputable repair database for your exact vehicle is worth checking.
6) Refill ATF and verify the level the right way
- Add fluid in measured amounts, don’t guess.
- Start engine, shift through gears with foot on brake, then return to Park.
- Check level per your vehicle procedure, some require engine running, some require a specific temperature window.
According to SAE International, automatic transmission fluid performance depends on viscosity and friction characteristics matched to the transmission design, which is why using the correct ATF spec matters more than brand name in many cases.
Decision table: what to do based on what you find
| What you see | Likely cause | Good next move |
|---|---|---|
| Wet line around pan seam, bolts look intact | Gasket seep or minor bolt relaxation | Reseal pan, torque to spec, recheck after drive |
| Drip concentrated near a bolt hole | Pan rail dimple or cracked flange | Flatten pan lip or replace pan, new gasket |
| Fluid wettest above pan, trails down | Cooler line, fitting, case connector leak | Fix source above, then clean and recheck |
| Leak only after long drive, level reads high | Overfill or aeration | Correct level, inspect venting, monitor for seep |
| Heavy leak + slipping shifts | Low fluid damage risk | Limit driving, consider professional inspection |
Common mistakes that make pan leaks come back
- Overusing RTV: extra sealant can squeeze into the pan, then clog filter pickup or create uneven sealing.
- Skipping pan straightening: a new gasket won’t fix a warped rail.
- Reusing a crushed gasket: some gaskets are one-time use, even if they “look fine.”
- Wrong ATF spec: may shift harshly, shudder, or run hot, and you still have a leak to deal with.
- Not cleaning before diagnosis: you can’t confirm a fix if everything stays coated in old fluid.
Also, don’t ignore small drips because the transmission “still feels okay.” Many units tolerate a small loss for a while, then suddenly show delayed engagement or flare shifts once the pickup starts sucking air.
When it’s smarter to call a pro
A pan reseal is doable for many DIYers, but a few situations justify professional help, mostly because the downside cost climbs fast.
- You can’t confirm the leak source and fluid appears to come from higher on the case.
- Your transmission has a sealed fill system, overflow standpipe, or temperature-based fill procedure you can’t replicate.
- You see metal chunks in the pan, burnt smell, or shifting symptoms alongside the leak.
- Bolts strip in the case, helicoil repair may be required.
- The vehicle is under warranty, a DIY fix could complicate coverage.
According to AAA, staying on top of fluid leaks is part of basic preventive maintenance, but they also encourage seeking qualified service when the repair involves safety-critical lifting or uncertain diagnosis.
Key takeaways before you grab the wrench
- Confirm the leak starts at the pan seam, not above it.
- Clean surfaces fully, old gasket residue is a repeat-leak factory.
- Torque evenly to spec, “tight” is not a number.
- Refill using the correct procedure and ATF spec, level mistakes cause headaches.
Wrap-up: stop the drip, then verify it stays dry
Fixing a pan-area leak usually isn’t complicated, but it rewards patience: confirm the source, reseal cleanly, torque correctly, and verify level the way your transmission expects. After the first drive, take a flashlight and check the pan seam again, a dry seam is the only result that counts.
If you want one simple action step, put a clean piece of cardboard under the car overnight after the repair, it’s an easy “pass/fail” check without guesswork.
FAQ
How long can I drive with a transmission pan leak?
It depends on how fast it leaks, but many slow leaks become risky because ATF level can drop without obvious symptoms until shifting changes. If you see active dripping, checking level soon is wise, and limiting driving can reduce damage risk.
Can I just tighten the pan bolts to stop the leak?
Sometimes a minor seep responds to proper torque, but random tightening often warps the pan lip or strips threads. If you try this, use a torque wrench and follow a crisscross pattern, then monitor closely.
Do I need RTV sealant with a transmission pan gasket?
Many designs seal gasket-only, and adding RTV can backfire. Use sealant only if your service instructions call for it, typically at specific corners, not around the whole perimeter.
Why is my leak worse after a fluid change?
Fresh fluid can clean away deposits that were masking a weak seal, or the pan rail got overtightened during service. Overfilling also shows up after DIY refills, which can push seepage at the gasket seam.
How do I know if my transmission pan is warped?
Look for dimples around bolt holes and uneven contact marks on the gasket. A straightedge across the rail helps, if light shows through near bolt holes, flattening or replacement may be needed.
What color is transmission fluid and does it matter for diagnosis?
New ATF often looks red, older fluid can turn brown, and a burnt smell can suggest overheating. Color alone doesn’t confirm the leak source, but it helps distinguish ATF from engine oil or coolant.
Is a transmission pan leak expensive to fix at a shop?
Costs vary by vehicle and region, and by whether the pan has easy access or requires subframe or exhaust work. A simple gasket and fluid service is usually less than chasing a hard-to-reach leak above the pan.
If you’re trying to fix a recurring drip and want a more straightforward path, consider getting the exact gasket, filter, and ATF spec for your VIN, or have a shop do a quick leak-trace cleaning and dye check so you aren’t resealing the wrong part.